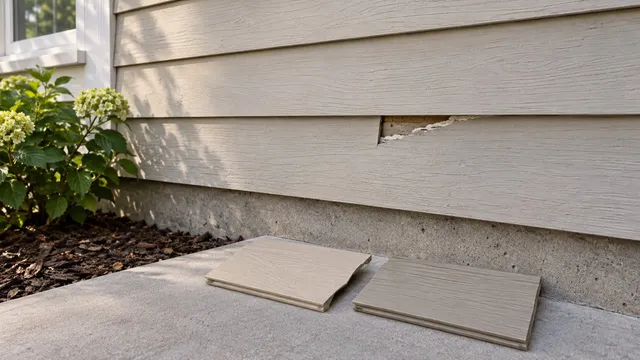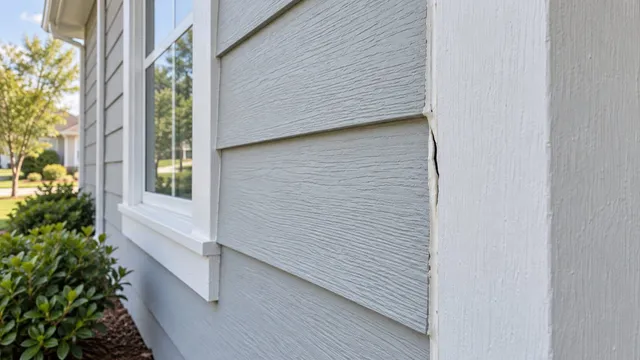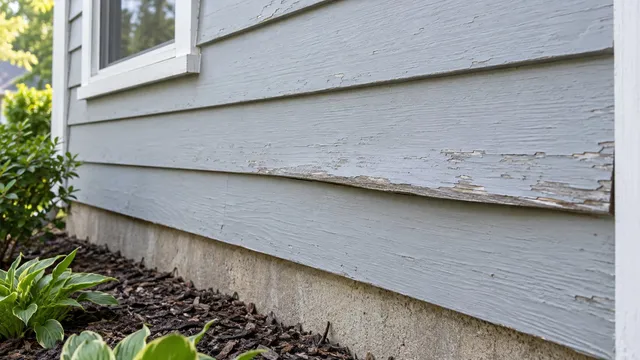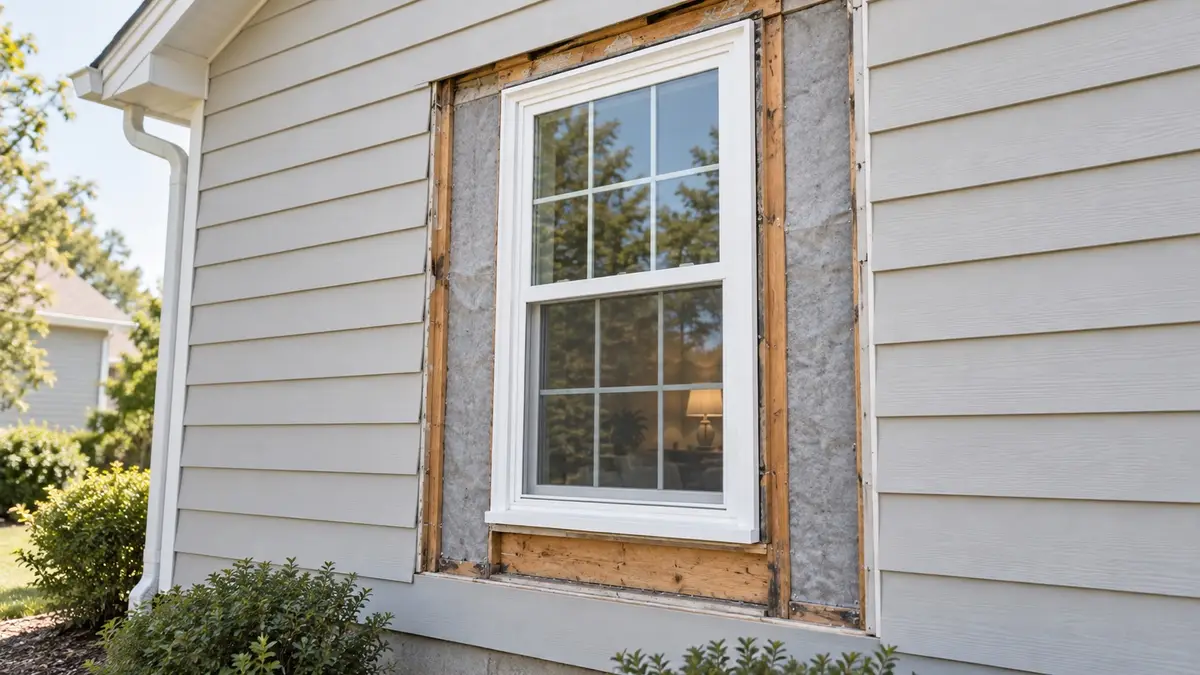
You are keeping your windows but replacing the siding around them. One proposal says “new trim and caulk.” Another includes removing more cladding to inspect the wall. Those bids may describe very different repairs.
There is no dependable national price for this precise mix of access and flashing work. Window configuration, hidden damage, insulation changes, and who restores the trim shape the local quote. The useful first question is what remains installed and what can the contractor actually see?
What needs to happen to the flashing when siding around windows is replaced?
The contractor needs to identify the existing water path and make a sound connection between the opening and the wall’s water-management layer. That may mean retaining sound components, repairing accessible parts, or opening more of the assembly. It does not mean automatically buying a new window. DOE’s Building America Solution Center calls for the flashing to be inspected before siding covers it and integrated with the wall’s drainage layer.
The water-resistive barrier, or WRB, is the layer behind siding that directs rain outward. Window flashing protects the opening at its head (top), jambs (sides), and sill (bottom). An exposed metal cap above trim has a different job from concealed protection below the sill. Interior foam may reduce air leakage, but DOE’s window-replacement checklist treats air sealing and exterior flashing as separate work.
| Part to discuss | Its role | What a finished photo cannot show |
|---|---|---|
| WRB behind siding | Carries water toward an exterior exit | Whether old and new sections connect |
| Opening flashing | Protects head, sides, and sill | Hidden sill and corner condition |
| Trim and head cap | Sheds water at the exposed finish | Condition of the opening behind it |
Caulk, tape, membrane, and metal can all belong in a specified system. None is a universal substitute for the rest. Ask which window and WRB details govern this opening; reject a drawing that simply seals every edge of every window.
Which window frame and wall layers are staying?
Start the scope conversation here. Removing siding only, removing siding plus trim, removing an entire window frame, and placing a new insert inside an old frame expose different surfaces. A casual description such as “replacement window” does not tell you which one occurred. Ask the contractor to identify the window type, any product records, the existing WRB, and the location of the water-control layer.
Is it a retained flanged window, an insert, or a brickmould unit?
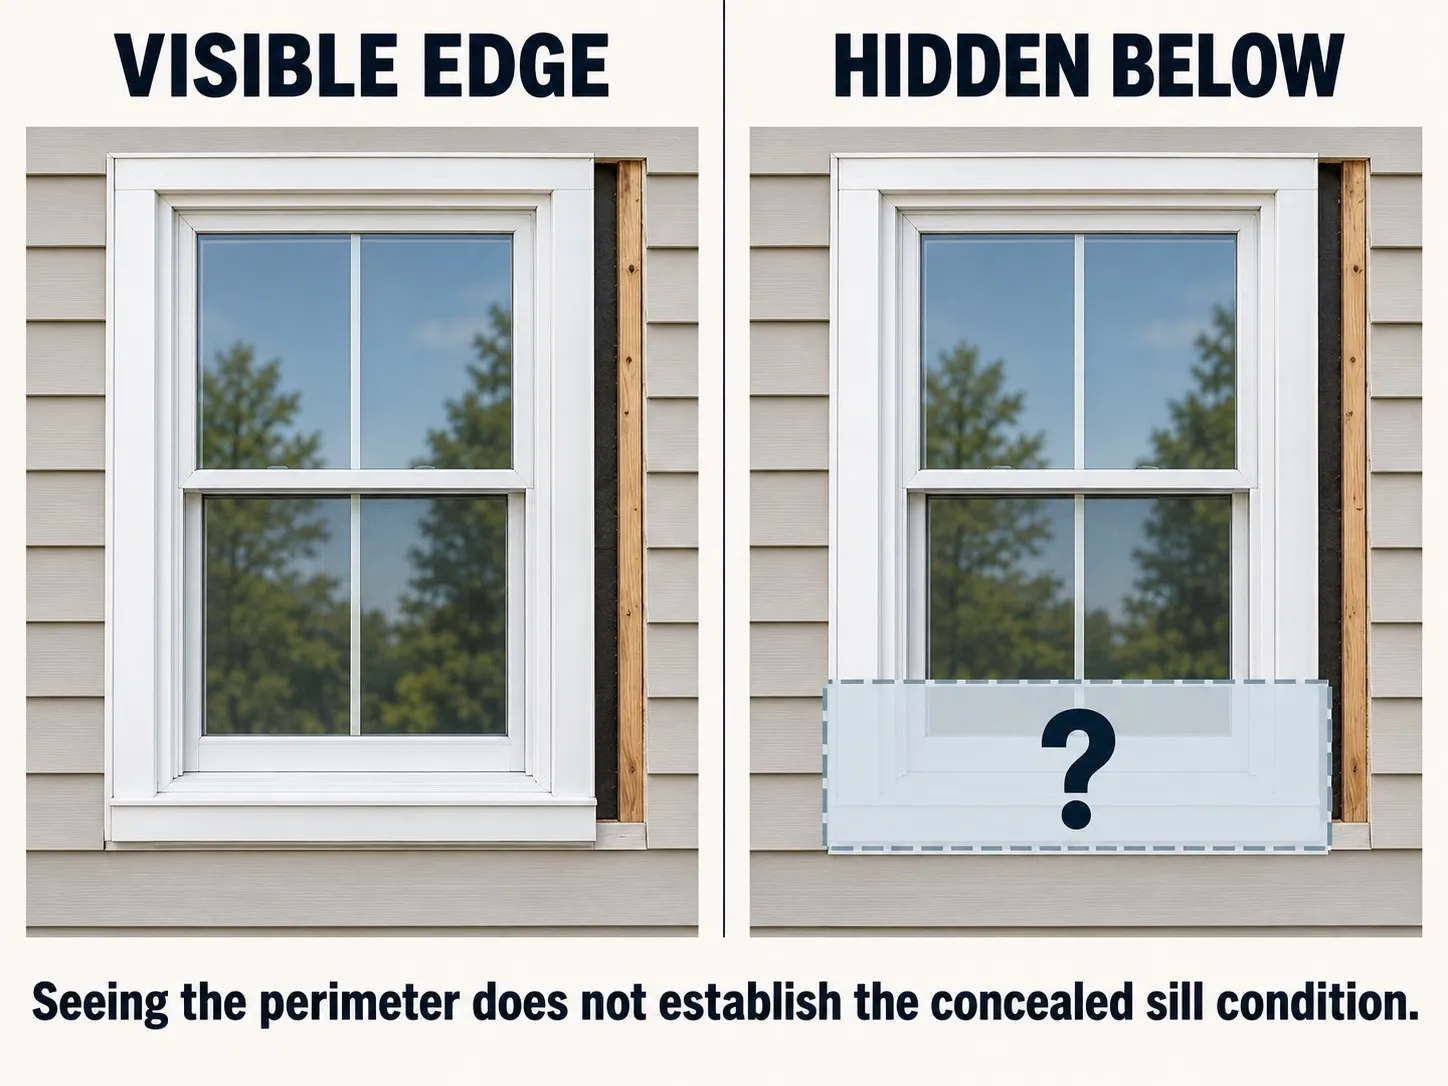
An integral flange is a rim used to attach some windows at the wall opening. Once the cladding is off, a contractor may see that rim and its side or head connection. Seeing it does not establish the hidden sill’s condition. DuPont’s integral-flange detail describes a specified new installation with access before its WRB goes on; it is not a recipe for every existing window.
An insert fits inside an older frame. Andersen’s insert guidance says its original frame, siding, and trim remain. The insert-to-old-frame joint and the older frame-to-wall joint are therefore separate questions. A new-looking insert does not establish that the older opening was ever reflashed. The insert versus full-frame comparison helps with the window-choice side of that decision.
Brickmould is exterior trim built around some units; its presence alone does not prove whether the window has a flange. DuPont publishes a specific VersaFlange brickmould detail for smooth frames and accessible new installations, and a different detail for non-flanged units. Neither authorizes slipping tape behind an unidentified, long-installed frame. Have the window installer and siding contractor agree on the actual assembly.
What if new exterior insulation makes the wall thicker?
Added insulation can place the finished siding farther out while a retained window remains in its old position. That changes the relationship among trim depth, window position, and the WRB connection. DuPont bulletin 43-D100477 on exterior insulation discusses keeping existing windows in its specified product system; ask for the detail that fits this project’s materials before trim and insulation are ordered.
Can the existing window stay while the siding is replaced?
Yes, if a qualified siding and window team can identify a workable connection to sound surrounding layers and state what remains unverified. The window’s age alone is not the deciding test. Existing leakage, frame damage, the condition of the WRB, and access to a needed repair matter more. DuPont’s retained-window bulletin recommends removing windows where leakage or damage is found in its described insulation and WRB system. That is a reason to investigate and plan access, not a rule that every siding job needs new windows.
Full-frame removal gives access to the rough opening that a surface repair may leave hidden. DOE’s complete-frame guide notes that concealed leakage can escape notice and water can arrive through several pathways. Removal for investigation or repair does not by itself mean buying a new unit; a qualified installer must decide whether a particular window can be removed and reused without unacceptable damage. Put that uncertainty in the scope before work begins.
| What the contractor finds | Scope to discuss | What remains unknown |
|---|---|---|
| Sound, accessible connection | Retain window and repair local detail | Concealed areas outside access |
| Leakage or damaged opening | Expand access; assess removal or replacement | Full extent until opened |
| No sound WRB tie-in | Evaluate a broader wall section | Condition beyond the opening |
A tidy exterior, dry indoor trim, or a single moisture reading cannot certify the hidden opening.
What if the building paper or housewrap is missing or damaged?
Ask how the local repair will connect to sound surrounding water management. If there is no reliable place to connect it, a wider wall repair may make more sense than patching the window perimeter alone. DOE discusses this access problem in its full-frame guide. A surface tape patch directly on an unknown backing is not evidence that the wall has a continuous drainage system.
Make the change-order trigger explicit: which discovery stops covering work, who evaluates it, what temporary protection will be used, and how you approve any larger repair. A wall opening below a window can reveal more damage than the outside stain suggests, as the wood siding damage guide explains. It still does not prove the window flashing was the entry point.
What should be checked before new siding hides the opening?
Agree on a pre-cover review with the exterior-remodeling contractor. Ask the installer to identify the head, side, and sill strategy in the selected system and describe where water can leave the assembly. Record which old layers were sound, what was repaired, and which areas remained inaccessible. DuPont’s February 2020 residing guide addresses continuity with already-flashed openings and product-specific preparation and exposure limits.
A useful record includes:
- The actual window configuration and the WRB or wall layer being connected.
- The applicable product and detail instructions, including the version used and material compatibility.
- Photos of identified locations before repair, after any damaged material is removed, and before covering.
- The accessible components reviewed, the inaccessible ones, and any follow-up needed.
- The person responsible for the window, WRB, siding, and their shared boundary.
Photos show a stage of work; they do not prove future leak performance. If targeted water testing is needed, have a building-envelope contractor plan and perform it.
Should every joint be sealed, or do some openings need to drain?
Neither “seal all four sides” nor “never caulk a bottom edge” works for every assembly. Interior perimeter air sealing, exterior fixed-joint sealing, and planned drainage outlets are different features. The applicable window, WRB, and cladding details determine where materials belong. The siding gaps and failed caulk guide explains why some visible openings need attention while others are drainage paths. Keep the installer’s project detail in writing rather than accepting a generic caulk line.
What should you tell the contractor about an earlier window leak?
Bring dates, photos taken safely from inside or the ground, any known wind direction, and earlier repair records. Note where water appeared first, whether trim stains spread, and whether it happened during calm or driven rain. The wind-driven window leak guide helps organize those observations. A roof, gutter, wall, or window can all be involved; the contractor has to establish the pathway before promising that reflashing will cure it.
Report active wetting promptly and have the area investigated before it is covered. Do not pry trim, cut test holes, spray-test the opening, or probe softened wood. If water reaches a fixture or outlet, keep clear and call a licensed electrician. Suspected structural deterioration needs a qualified contractor and, where support may be compromised, a structural engineer.
What if the trim is old paint or the siding may contain asbestos?
For a pre-1978 renovation that could disturb painted surfaces, the EPA recommends a lead-safe certified contractor. Age alone does not establish that a particular coating contains lead. If siding may contain asbestos, EPA says to leave suspect material undisturbed; have a trained asbestos inspector assess it before removal. Appearance alone is not identification. The pre-1978 painting guide covers the planning questions for painted surfaces.
How should you compare window-flashing repair quotes?
No reliable current national price covers this narrow combination of siding access, window configuration, hidden repair, and trim restoration. Ask for local written scopes before comparing totals. A lower number may exclude the very opening work you need.
Ask each bidder to separate siding and trim removal, window retention or removal, inspection of exposed material, WRB and flashing integration, replacement of damaged backing, interior finish work if needed, disposal, and locally required permits or inspections. Have the bid state allowances or unit prices for hidden work and the approval process. Clarify who selects the detail and resolves disagreements between window and siding installers. “Flash windows” alone is too vague to compare.
Ask for a second opinion from a building-envelope specialist if a leak recurs, a proposed detail conflicts with the known window type, all windows must supposedly be removed without a reason, or surface caulk is offered for concealed damage. The next useful step is a written scope that identifies the retained layers and schedules the review before they disappear.
Frequently asked questions
Can flashing tape stay exposed if siding is delayed through winter?
Do not assume it can. Exposure limits are product-specific; DuPont’s residing guide, for example, supplies conditions for its own materials. Ask the installer to identify the exact product and its current exposure instructions, then arrange temporary protection or a revised schedule if needed.
Will window flashing repair fix fog trapped between glass panes?
No. Fog between sealed panes concerns the glass unit, while flashing manages water at the wall opening. Use the fogged-pane guide to decide whether glass-unit work is needed separately.
What happens to storm windows when insulation or siding gets thicker?
Their fit, access, and drainage need review with the new trim and wall depth. Do not assume every storm unit must be discarded or can be reinstalled unchanged. Ask the window installer to document its planned position before ordering trim.
Could this work change the window warranty?
It depends on the specific product and written terms. Obtain the current window and installation warranty documents, then ask who authorizes any removal or alteration. Neither a partial siding job nor keeping the window proves a warranty outcome.
What records help if the windows will be replaced later?
Keep window identification, photos of exposed layers, the actual flashing and WRB detail used, product names and versions, and notes on inaccessible conditions. Give those records to the future installer so the new opening can be planned around the work already done.
Sources
- DOE / PNNL — Windows and Doors are Fully Flashed
- DOE / PNNL — Window Replacement Checklist
- DOE / PNNL — Complete Window and Frame Replacement
- Andersen — Insert Window Replacement
- DuPont — Integral Flanged Window Installed Before the WRB
- DuPont — Brick Mold Windows and Doors Using VersaFlange
- DuPont — Non-Flanged Windows and Doors
- DuPont — Integrating Building Envelope Products With Exterior Continuous Insulation
- DuPont — Tyvek Residing Installation Guidelines
- EPA — Renovation, Repair and Painting Program: Consumers
- EPA — Protect Your Family from Exposures to Asbestos