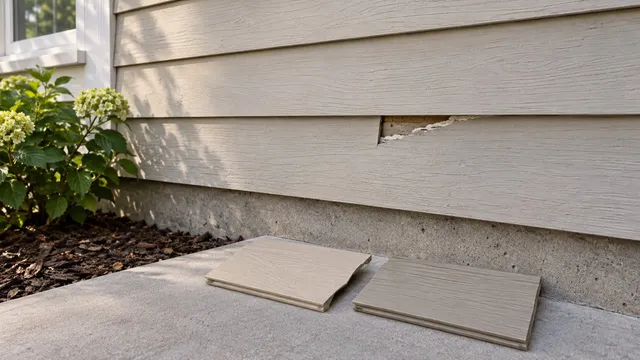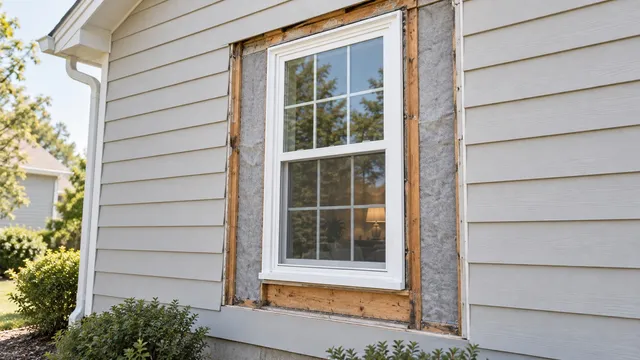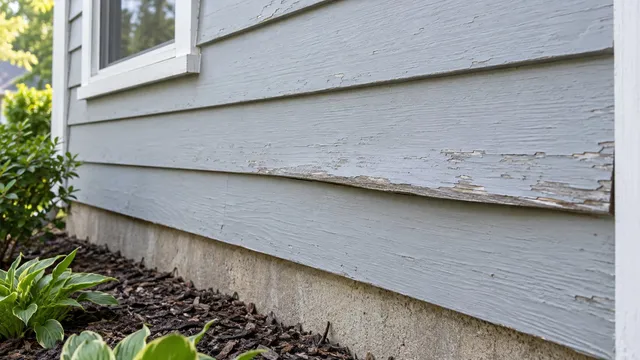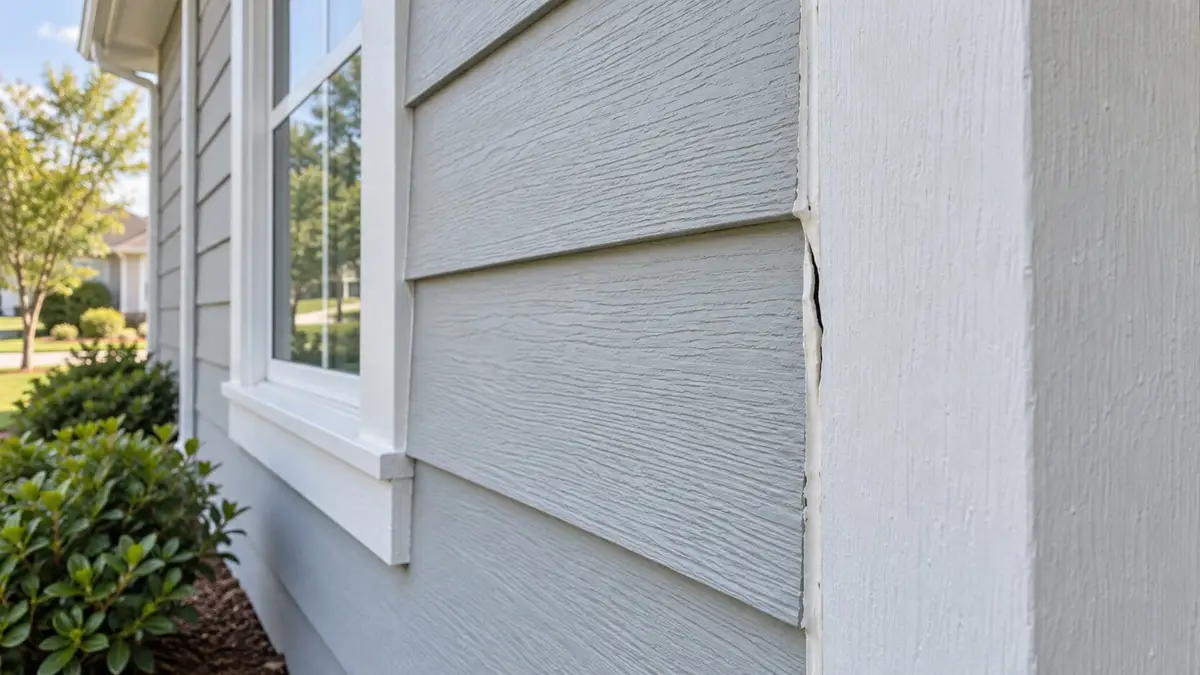
You spot an open seam beside a window and a bead of caulk that has pulled away from trim. Filling every visible line would be quick, but those openings may serve different jobs. One could be a specified sealant joint; another could let a panel move or direct water out.
There is no reliable national price for “fixing siding gaps” without identifying the details. Accessible sealant maintenance and opening the wall to correct flashing are different scopes. A contractor should name the joint and the intended water path before writing a useful estimate.
What kind of siding gap are you looking at?
From secure ground, photograph the whole wall and a zoomed view of the opening. Note whether it lies between board ends, along a horizontal overlap, where siding meets trim, inside a trim receiver, just above flashing, or at a visible drain outlet. Record the siding product and profile if existing paperwork identifies them, plus approximate installation date and finish. A painted face or a past bead of caulk does not prove what the original detail required.
| Visible location | Name to ask about | Question it raises |
|---|---|---|
| Two boards meet end to end | Butt joint | Sealant, joint cover, or flashing? |
| One course covers another | Overlap | Is movement intended here? |
| Board meets corner or window trim | Perimeter joint | Was a seal specified? |
| Panel disappears into shaped trim | Receiver | Does the panel need movement space? |
| Space above a metal cap | Flashing clearance | Is this a drainage exit? |
| Small opening in window frame | Window weep | What does the window maker require? |
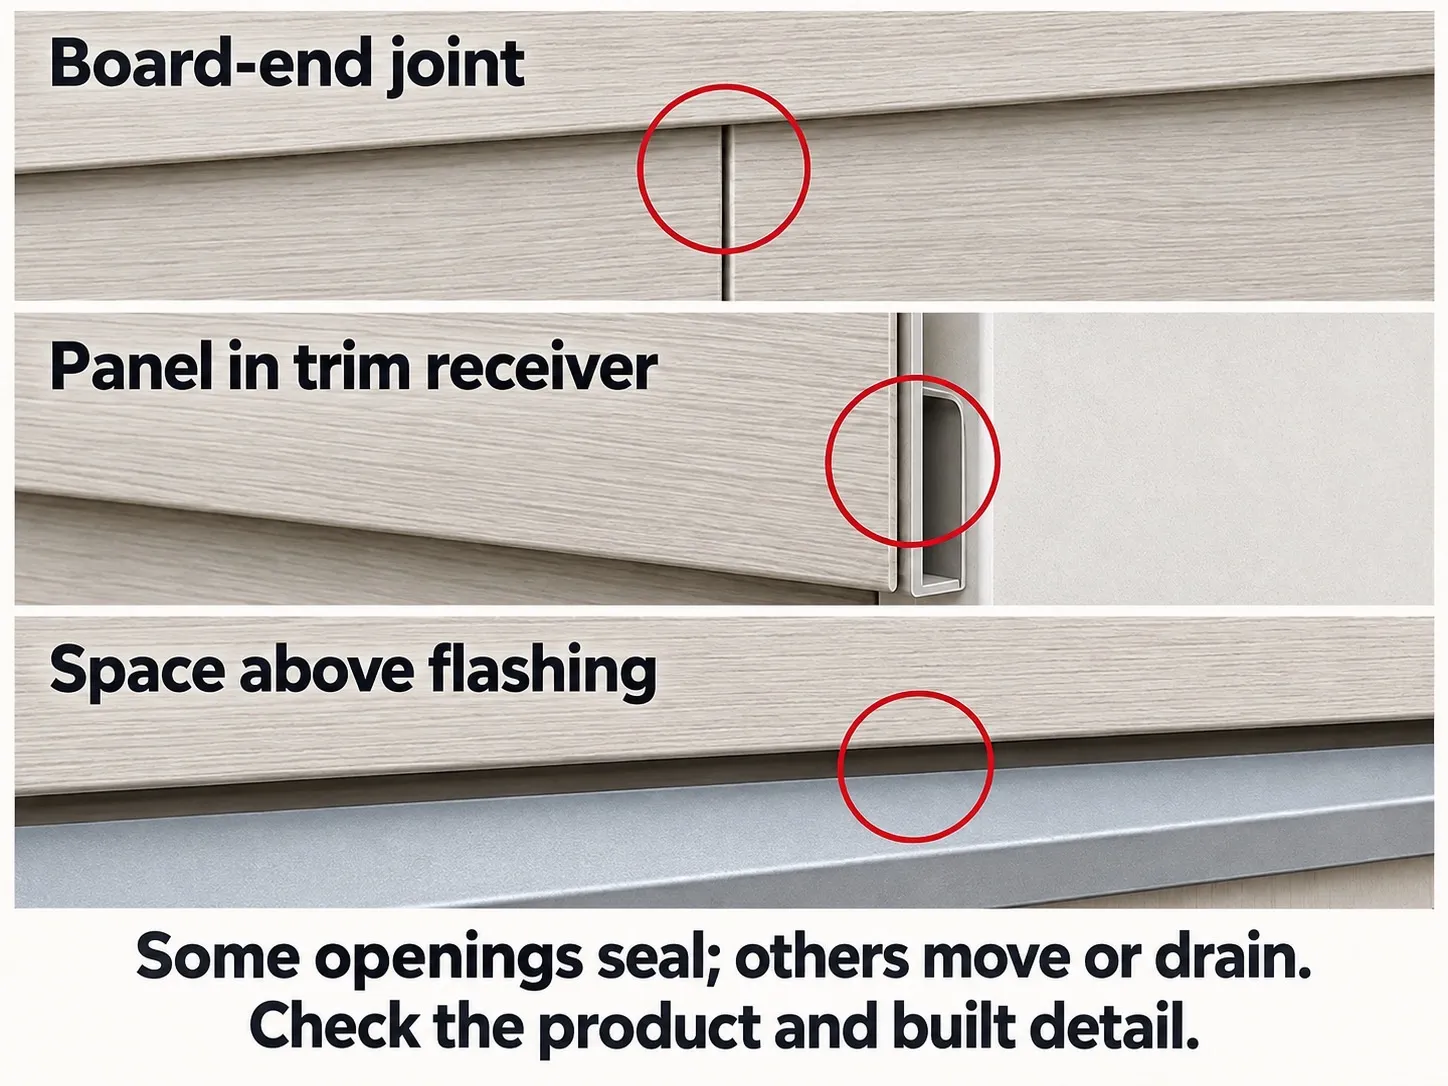
The last two are not interchangeable. A window’s own weep belongs to the window system, while a siding clearance is part of the wall detail. An empty seam also cannot prove that proper flashing lies behind it. If the product or opening is uncertain, preserve it while a siding contractor checks records and the installed assembly. Do not fill it as a leak test.
Which siding joints need sealing, drainage, or movement?
The cladding is not the wall’s sole rain barrier. Water that gets past it should meet a water-resistive barrier and flashing that direct water down and out. DOE/PNNL’s wall-flashing guide describes that drainage approach. Face caulk cannot substitute for missing or misdirected hidden water-control work.
The answer changes with the identified detail, not just the word “vinyl,” “wood,” or “fiber cement.” These examples explain why similar-looking gaps can call for different treatment. They are not specifications for an unidentified wall.
| Identified detail | Documented function or treatment | Verify before work |
|---|---|---|
| Vinyl overlap or panel end inside receiver | Leave documented movement space free of caulk | Exact panel and trim system |
| LP SmartSide 38/76 lap at window or door trim | Product-specific sealant joint | Installed profile and applicable edition |
| LP lap-siding field butt joint | Several approved joint treatments | Which treatment was built and its conditions |
| LP gap above drip-cap flashing | Leave its documented drainage clearance open | That the cap and outlet are correctly built |
| Western Red Cedar exposed perimeter joint | Some joints call for compatible caulk | Whether sealing would block drainage |
| HardiePlank butt joint | Manufacturer recommends flashing behind it | Exact HardieZone and product instructions |
| Unidentified opening | Verify assembly before selecting treatment | Product, joint function, hidden detail |
The Vinyl Siding Institute’s 2020 manual says not to caulk vinyl panel overlaps or panel ends inside corner-post or J-trim receivers. That instruction preserves the movement intended for those panel details; it does not settle another seal at the window itself. If the panel is distorted, see why vinyl siding buckles.
The LP SmartSide lap-siding instructions for specified 38 and 76 Series products describe different options for butt joints, including sealant, joint moulding, and conditional flashed/open treatments. They also call for an uncaulked clearance above drip-cap flashing. “Seal all wood joints” and “never seal wood joints” both erase those distinctions. Western Red Cedar guidance likewise describes caulking relevant exposed joints while excluding openings where caulk would obstruct drainage. These instructions do not transfer across products.
For HardiePlank lap siding, James Hardie recommends flashing behind butt joints and directs installers to the applicable regional instructions. That does not create one rule for all fiber-cement brands or installation years. A visible opening can be correctly left open only when its actual assembly and function are established. If the gap is beside a window and repair would disturb the transition, window flashing and siding replacement need a coordinated plan.
What does cracked or peeling caulk actually tell you?
Is the sealant failing, or is paint cracking over it?
A bead may pull away from one side, split through its body, or disappear from a section. A line confined to paint over a flexible bead is a different observation. None alone identifies the cause. The Sika technical page for one sealant makes adhesion, substrate condition, joint design, compatibility, and curing conditions relevant to repair; it also distinguishes paint-over-sealant issues. Its directions concern that product, not every exterior caulk.
Photograph the bead without scraping it. Tell the contractor which side appears separated and whether nearby coating is cracking. Ask whether the existing material, the surfaces it touches, or movement at the joint explains the failure. A bead that looks sound in one photograph still may conceal a wrong joint treatment or failed flashing.
What if the same caulk keeps splitting?
Record each recurrence, the location, weather context, previous repair product if known, and any interior water symptom. A thicker bead does not establish that the joint can move correctly or that water drains. If the adjacent board is displaced, the loose-siding connection needs a siding assessment. If wood at the edge is puffed or soft, the wood-siding moisture question comes before finish maintenance. Repeated failure changes the inspection question; it does not identify the cause from appearance.
What can you check without opening the wall?
After the weather has settled, record rain direction and timing, whether the gap changes, and prior window, trim, siding, or painting work. From safe ground, look for adjacent staining, peeling finish, visibly swollen material, or a loose panel. Check indoors for a corresponding new stain. These are signs to report, not proof of rot, mold, or a specific leak route.
Active interior water, spreading marks, or unstable cladding changes the priority. Call a siding contractor or building-envelope specialist promptly for the water path; keep clear of a piece that could fall. If water appears around a window during wind-driven rain, the window-leak investigation covers that particular symptom. Do not climb, pull a panel, use a hose or pressure washer to force water in, or cut out caulk as a diagnostic exercise.
Older painted work needs a lead-aware plan before disturbance. The EPA’s lead-safe renovation guidance applies to that planning, not to deciding which siding gap to caulk. See what to check before scraping or sanding a pre-1978 home. Suspected older asbestos-containing siding also ends homeowner disturbance; appearance alone cannot identify it. A contractor should arrange appropriate material assessment before opening the assembly.
When is this caulk maintenance, and when is it a siding-and-flashing repair?
A confirmed sealant joint with sound neighboring material
An experienced siding contractor can specify surface preparation, compatible sealant, the joint design or backing where required, finish compatibility, and application weather for that identified detail. A painter can perform finishing within a confirmed assembly plan. Neither trade should treat a random open line as a sealant joint by default.
Do not assume fresh caulk can be layered over an old failed bead. The Sika product page generally calls for sound, clean substrates yet describes a qualified restoration case with certain residual sealant, with the specified cleaning and an always-recommended field adhesion test. If this product will be painted, Sika requires the paint or coating applicator to test compatibility and adhesion on site. Those passages apply to the actual product and condition, not every exterior caulk. The contractor should explain the preparation and approval basis.
Uncertain flashing, recurring water, or damaged siding
A siding contractor or building-envelope specialist may need controlled access to determine whether flashing and the water-control layer direct water out. The PNNL guide supports checking concealed conditions in retrofit work. Ask which joint is being treated, what written product detail controls it, where water is supposed to exit, and what remains unknown until access occurs. Have the professional document newly exposed material before covering it.
Separate the estimate into access and investigation, sealant work, siding or trim repair, flashing and barrier work, possible concealed damage, finish restoration, and safe access. Clarify how added work will be photographed, priced, and authorized. Height, material availability, extent of opening, and local labor may matter more than the price of a tube of sealant. No national repair range or universal recaulking interval is supported for this mixed scope. Local permit and licensing requirements depend on the job and jurisdiction.
Seek a second experienced opinion when one proposal would caulk every opening without identifying the product, or two contractors disagree about whether a gap is a drainage outlet. Keep the product detail, photographs, and repair record. Revisit the location during ordinary maintenance and report returning symptoms; do not create a water test to prove the repair.
Frequently asked questions
Does meeting ASTM C920, the specification for elastomeric joint sealants, make a sealant right for every siding joint?
No. The marking alone does not establish that this joint should be sealed or that the product suits its substrates and movement. The LP instructions and Sika’s sealant page use product-specific requirements and conditions. First confirm the siding detail, then compare the proposed sealant with the applicable instructions.
How long should new caulk wait before paint or rain?
Follow the exact sealant’s instructions and the weather on the job. Skin-over time, paintability, rain exposure, and full cure are separate properties; Sika’s page illustrates that conditions affect cure. A single “24-hour” rule is not supported for every product.
Is clear or color-matched caulk suitable for stained Western Red Cedar?
Clear caulk is not recommended for Western Red Cedar; WRCLA also advises against pure silicone. For a joint that is meant to be sealed, choose a compatible sealant and color after confirming the wood and finish requirements.
Must sound older caulk be removed from every joint before repainting?
No universal removal rule follows from age alone. Evaluate whether the sealant is sound, what coating will go over it, and the product’s preparation requirements. Sika’s qualified residual-sealant allowance includes specified cleaning and an always-recommended field adhesion test; it does not guarantee adhesion for an unknown bead. If this product will be painted, Sika requires the coating applicator to test compatibility and adhesion on site. Have the painter and siding contractor agree on a documented treatment for each confirmed joint.
Sources
- Vinyl Siding Institute — Installation Manual, 2020
- DOE/PNNL — Flashing at Bottom of Exterior Walls
- LP — SmartSide Lap Siding Application Instructions
- Western Red Cedar Lumber Association — Siding General Installation
- Sika — Sikaflex HY 100
- James Hardie — Tips for Installing James Hardie Lap Siding
- EPA — Lead-Safe Renovations for DIYers