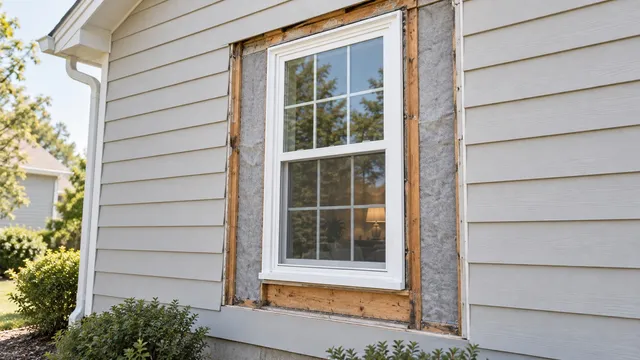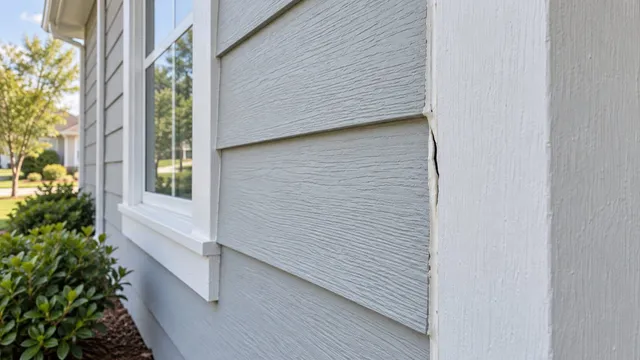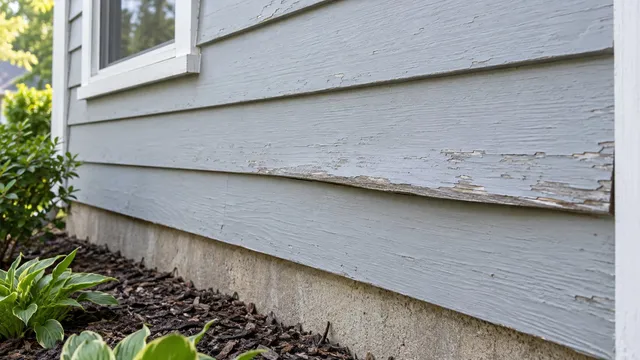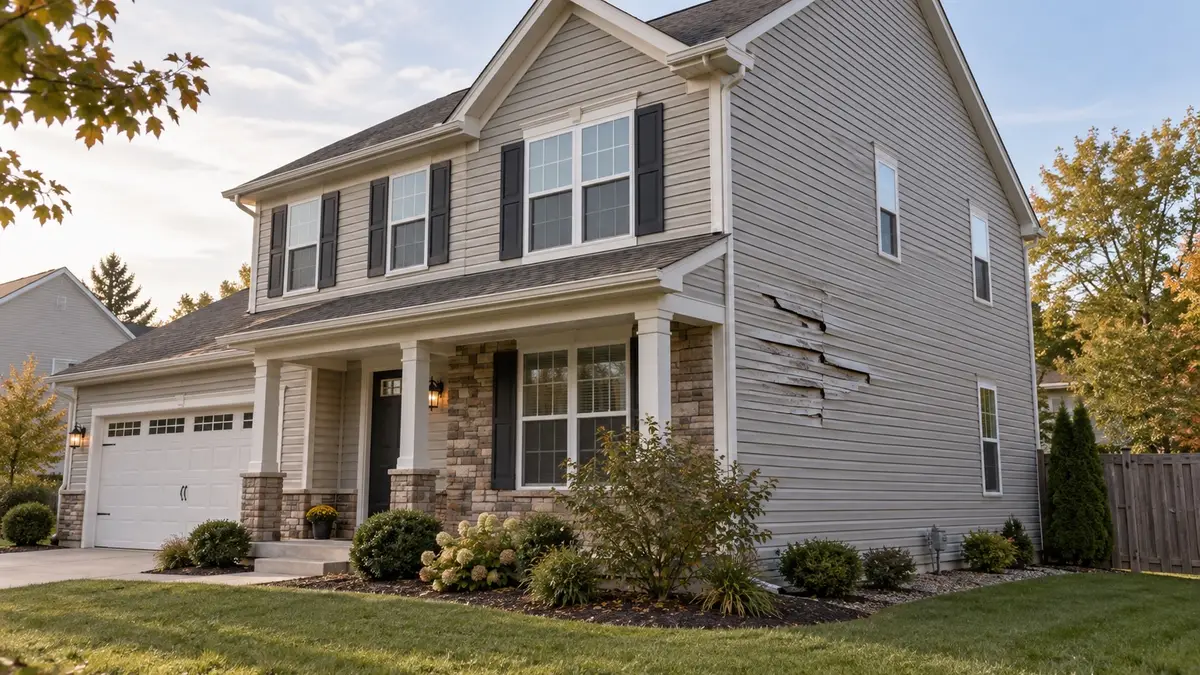
One wall has cracked, loose, or stained siding. One contractor proposes replacing that wall. Another says the entire house should be re-sided. A third offers to replace a few pieces. The totals alone cannot show which recommendation addresses the defect.
There is no defensible national price or damaged-area percentage that decides this choice. Access, material compatibility, concealed repairs, and regional labor all change the bid. Start with a record of where trouble is visible, then ask what the contractor must open to correct it.
How do you map siding damage on every wall?
An elevation is one exterior face of the house. From safe ground-level positions, photograph the front, back, left, and right elevations, then closer views of each visible defect. Mark the date and any recent storm, impact, or repair. For high or hidden areas, write “uninspected,” not “sound.” That simple distinction prevents a walkaround from turning into an unsupported whole-house verdict.
Note whether you see missing or loose pieces, distorted panels, apparent swelling, stains, failing finish, or interior wet spots. Include the location relative to windows, doors, roof-wall intersections, lower courses, decks, downspouts, and fixtures. A stain’s position does not establish where rain entered. Record repeated symptoms after rain or heat without deciding the cause from the pattern alone.
| Elevation | Visible symptom and history | Uninspected area / question |
|---|---|---|
| Front | Note location, symptom, date, rain or impact | Upper wall uninspected |
| Back | Note visible condition and any earlier repair | Area behind repair uninspected |
Use your own entries; the examples are prompts, not a damage score. A small falling piece calls for prompt contractor attention, while widespread fading may be an appearance decision. Keep people clear of loose material overhead. Do not climb, pry panels, probe questionable wood, or spray-test a suspected leak. The EPA recommends lead-safe planning for pre-1978 painted surfaces, and suspect asbestos material should be left undisturbed. Neither can be identified by a photo alone. The pre-1978 painting guide explains how to plan that part of a project.
What does “no visible damage” leave unknown?
It leaves the condition behind the siding unknown. Siding is the outer covering; behind it, a water-resistive barrier, or WRB, directs rain out, flashing protects interruptions, sheathing closes the wall, and framing supports it. A clean exterior picture cannot certify the concealed layers or connections. That is why the damage map should show observations and inspection limits separately.
One elevation can weather differently from another. The USDA Forest Service’s 2011 guide for wood shake and shingle siding discusses exposure-dependent finish maintenance. That supports looking at each face independently; it does not set a lifespan for all siding or prove that a weathered face needs replacement.
Can damage behind one siding defect enlarge the repair?
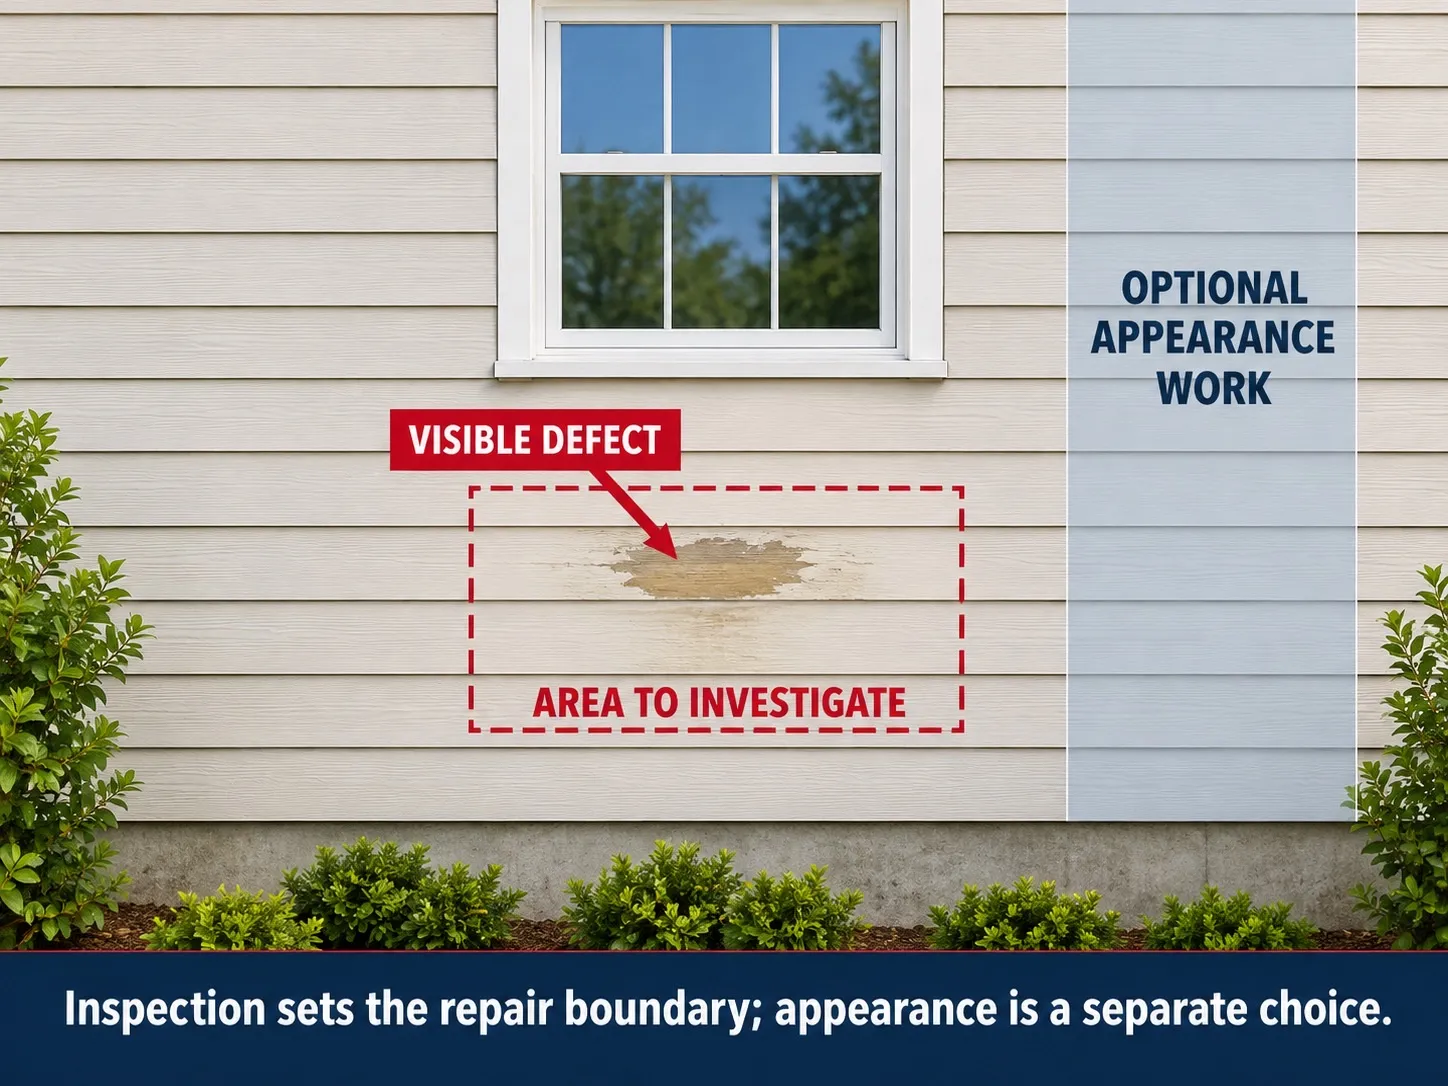
Yes. A contractor may need to open beyond the visible blemish to find sound material and correct a water path. DOE’s Building America guidance on retrofitting wall-base flashing says removal can be extended to diagnose water damage and replace rotten sheathing. The actual boundary follows findings, not an arbitrary wall or percentage.
Ask the contractor to explain three areas separately: the visible defect, the area to open for investigation and complete repair, and any additional area proposed for appearance. The estimate should identify which wall layers are included and how the cause will be addressed. New siding over an unresolved leak does not repair the wall. Conversely, one wet location does not prove every elevation has hidden rot.
Agree with the siding contractor before opening on temporary weather protection, photographs of exposed conditions, and how extra work will be approved. If framing looks displaced or badly deteriorated, a structural engineer should evaluate suspected structural damage. A building-envelope specialist can help where the water path remains unclear.
Could one damaged panel still be a limited repair?
Yes. The Vinyl Siding Institute’s installation manual includes replacement of a damaged vinyl panel. That establishes a technical option for that product category, not a promise that your neighboring panels will release intact or accept a replacement. A confirmed isolated impact with suitable adjacent material and sound backing may stay local.
Imagine staining below one window. The contractor might need more access to assess the window connection and sheathing than the stained board occupies. That is a planning example, not a diagnosis. Replacing siding around windows describes the opening-to-wall review. If the material itself is soft or swollen wood siding, the affected wall behind it also needs attention.
Will a replacement piece fit and look right?
Check functional fit first. Ask the contractor or supplier to identify the existing product from records or an already available sample. Compare the product line, profile, exposed height, thickness, edge or locking arrangement, attachment requirements, compatible trim, and finish. A similar color or nominal width does not prove the pieces can work together. Do not remove a panel yourself for identification.
For vinyl, the installer should confirm that adjacent pieces can be disengaged and returned without unacceptable damage, then verify the substitute against current product guidance. A series of buckled vinyl panels may point to a larger installation or heat-related question than a single impact. The manufacturer-specific answer matters.
For James Hardie siding, its FAQ permits certain small surface repairs and distinguishes primed material from its ColorPlus finish. That guidance does not authorize filling every crack, keeping damaged boards, or ignoring a wet support wall. For wood shakes or shingles, the USDA guide treats wood condition and coating maintenance separately; its advice is not a formula for every engineered-wood product.
Then decide what appearance you can accept. Weathering, texture, gloss, and availability may make a patch visible even when it is technically sound. Review a physical sample in its intended location and record the agreed finish. The discontinued siding color guide explores those choices. An owner may choose a full elevation for uniform appearance, but that preference should be labeled separately from necessary repair. Do not assume a new patch will “fade to match.”
Should you repair one wall, replace an elevation, or reside the whole house?
Choose the smallest complete functional scope the inspection can support, then make a separate appearance or upgrade choice.
| Scope to discuss | Findings that support considering it | Question still to resolve |
|---|---|---|
| Limited repair | Bounded defect; cause corrected; compatible edges | Is adjacent wall sound enough to connect? |
| One elevation | Concentrated failures or intersecting repairs | What evidence supports retaining the others? |
| Broader re-side | Documented failures across faces or broad planned retrofit | Which work is required versus optional? |
| Investigate first | Hidden extent, cause, or product fit unresolved | What opening or testing settles the boundary? |
A mixed plan may be the right one: repair a roof-wall detail, replace one elevation, and maintain the others. DOE’s insulated-vinyl retrofit guide calls for wall moisture assessment and integration of flashing and the WRB in that specified retrofit. It does not provide a whole-house replacement formula for other materials.
Ask what was actually checked on every retained elevation and at similar openings or roof intersections. A second failing detail can change the investigation. It does not automatically condemn the rest of the house. A whole-house proposal based only on age, a guessed damage percentage, or “you’ll need it someday” needs condition evidence or an independent second assessment.
How does new siding meet the old wall at a partial re-side?
The visible stopping point might be a corner, return, opening, or trim division. The hidden drainage and attachment layers also need a workable old-to-new connection. Ask the contractor to mark the edge on the elevation map and explain how the WRB, flashing, trim depth, and compatible materials meet there. The siding gaps and failed caulk guide helps distinguish a gap needing repair from a planned drainage exit. A generic promise to caulk the seam is not a full transition plan.
Different cladding thicknesses can shift trim and window relationships. Work near a lower roof may bring a roofer into the scope; work around windows may need a window installer. Ask who owns the shared detail when trades meet and who signs off before it is covered. A deliberate contrasting finish can solve the visual mismatch, but it does not solve an incomplete water path.
Check locally applicable wind, fire, moisture, energy, permit, or historic-district rules for the proposed work and the products selected. Their application varies by location and scope. If you plan to do another wall later, ask how the first phase will be left weather-ready and whether its transition can be repaired when the second phase begins.
How do you compare a one-wall quote with a whole-house quote?
No reliable universal cost figure settles the choice. Ask for itemized local proposals built from the same elevation map and known conditions. The FTC advises getting multiple written estimates and an explanation when bids differ substantially. A low total that excludes concealed repairs is not the same job as one that includes them.
Request feasible alternatives: necessary repair, the affected elevation, and broader work with optional appearance or insulation changes identified. Each proposal should state removal area, new material and trim, access equipment, disposal, wall and flashing repairs, finish restoration, and locally required permit or inspection items. It should separate confirmed work from allowances for hidden damage, describe how discoveries will be photographed, and require your approval before extra work proceeds. Get written warranty terms for new and retained work; neither a partial job nor a whole-house job promises a particular outcome.
For phased work, compare actual bids for phases and a combined project. Ask about repeated setup, future material availability, the cost of a weather-ready boundary, and whether work already done would have to be reopened. Neither savings nor a resale return is guaranteed.
Why might two contractors recommend different scopes?
Ask each to point to the evidence: damaged layers, suspected cause, needed access, product compatibility, and where the new work can end. One may include investigation or window trim that the other has excluded. If the source of leakage or the repair boundary is still unknown, an “investigate first” scope is more honest than a precise whole-house price built on guesses. Finish that investigation before accepting a replacement decision.
Frequently asked questions
Can new siding go over old siding instead of removing it?
Sometimes a product and wall plan may allow an overlay, but it changes access to concealed conditions and the new wall thickness. The DOE insulated-vinyl retrofit described here involves removal and assessment; the USDA wood shake/shingle guide discusses an overlay in its own material context. Have the contractor verify the actual product instructions and wall condition before comparing an overlay bid with removal.
Must the windows be replaced if the surrounding wall is re-sided?
No. A sound window may stay if its connection to the repaired wall can be established. Leakage, damaged opening materials, or inaccessible needed work can change the scope; coordinate with a qualified window installer before assuming removal or replacement.
Is one-wall re-siding a good time to add exterior insulation?
It can be discussed, but insulation changes wall depth and the connection at openings and the old-to-new edge. Request a separate priced option with a project-specific window and drainage plan. Do not assume the benefit or fit from the siding quote alone.
Should I keep spare siding for later repairs?
If the product’s current instructions allow storage, labeled spare pieces may help with later availability. For vinyl, VSI’s 2020 manual says to store cartons flat with full-length support, keep them dry, and protect them from damage and excessive heat; follow the current product’s limits. Stored material still may not match weathered siding years later.
Sources
- DOE / PNNL — Flashing at Bottom of Exterior Walls
- DOE / PNNL — Vinyl Siding With Integrated Rigid Foam for Existing Walls
- Vinyl Siding Institute — Vinyl Siding Installation Manual
- James Hardie — Frequently Asked Questions
- USDA Forest Service — Installation, Care, and Maintenance of Wood Shake and Shingle Siding
- EPA — Lead-Safe Renovations for DIYers
- EPA — Protect Your Family from Exposures to Asbestos
- FTC — How To Avoid a Home Improvement Scam