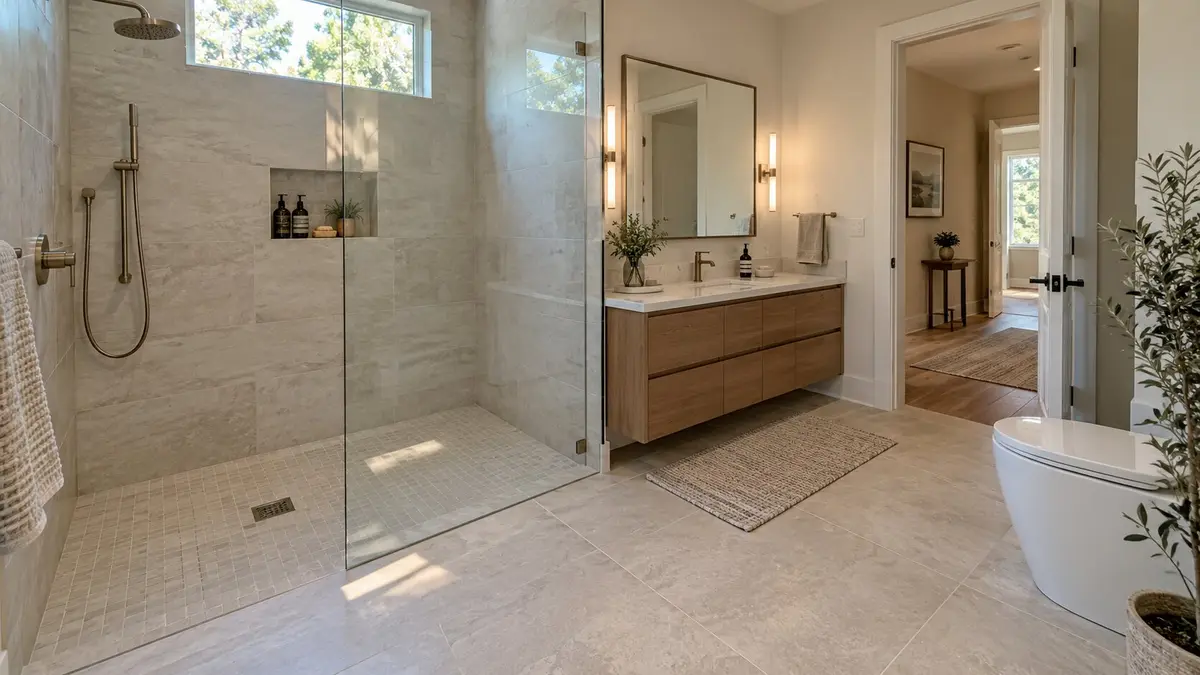
The appealing part of a curbless shower is the entry: no step between the bathroom and shower. The difficult part is making that edge flush while the shower floor still falls toward its drain.
Start with the finished height of the entire route, including the bathroom doorway and hall. A low profile base or long drain grate does not answer whether your floor can accommodate the assembly. There is no reliable nationwide price range for the floor, plumbing, and finish changes this home may need; compare local quotes against the same drawing.
Can your bathroom accommodate a curbless shower?
A flush entry has no raised curb at the shower opening. A low curb still requires a step. A ramp can bridge a height change, while a doorless shower describes the enclosure, not the floor. Schluter’s curbless planning page describes recessing the shower area, raising the bathroom floor, and ramped approaches as different routes. None settles whether the whole room works for the intended user.
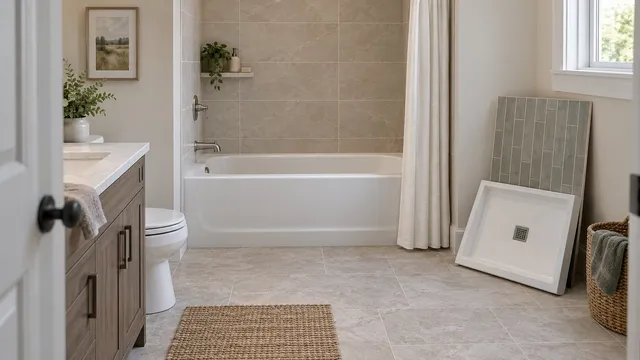
State your goal before picking a product: easier stepping, use with a shower chair, future mobility needs, or a particular look. These goals lead to different entry and support questions. If this replaces a tub, the broader tub-to-shower conversion scope still needs its own review.
What you can observe before the site visit
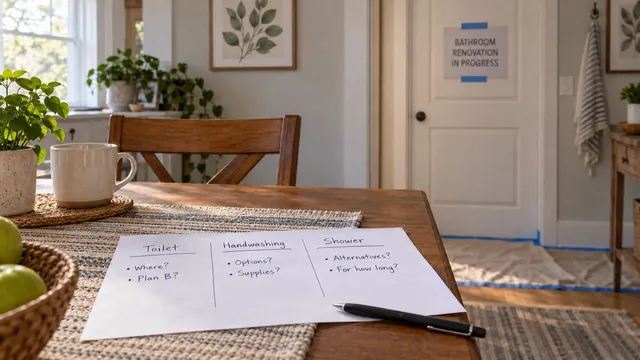
From sound flooring and ordinary access, measure visible room dimensions. Photograph the existing shower edge, bathroom door, hall transition, and visible drain. Note whether the room sits above another finished room. List the intended showerheads and any known drainage, leakage, or floor movement issues. Bring available house plans and past remodel records.
Mark each item known, assumed, or needs a professional to verify. Do not lift flooring or enter a questionable crawlspace to fill the last column. If you find a soft spot, sag, or leak into the room below, keep off that part of the floor until a remodeling contractor examines it promptly; do not probe it or load-test it. Ask that contractor to assess a stain as well. The soft-spot flooring guide explains why the covering alone does not reveal the support problem.
Ask for finished heights, not just a promised recess depth
The contractor’s section drawing should run from drain to shower entry, across the bathroom, through its door, and to the hall. It should show the structure or subfloor, sloped base, waterproofing, setting layers, finished tile or other surface, drain elevation, and any heated-floor layers. Schluter’s raised-floor guidance shows why room-floor layers matter in the comparison. The selected product’s current dimensions must fill in the actual drawing.
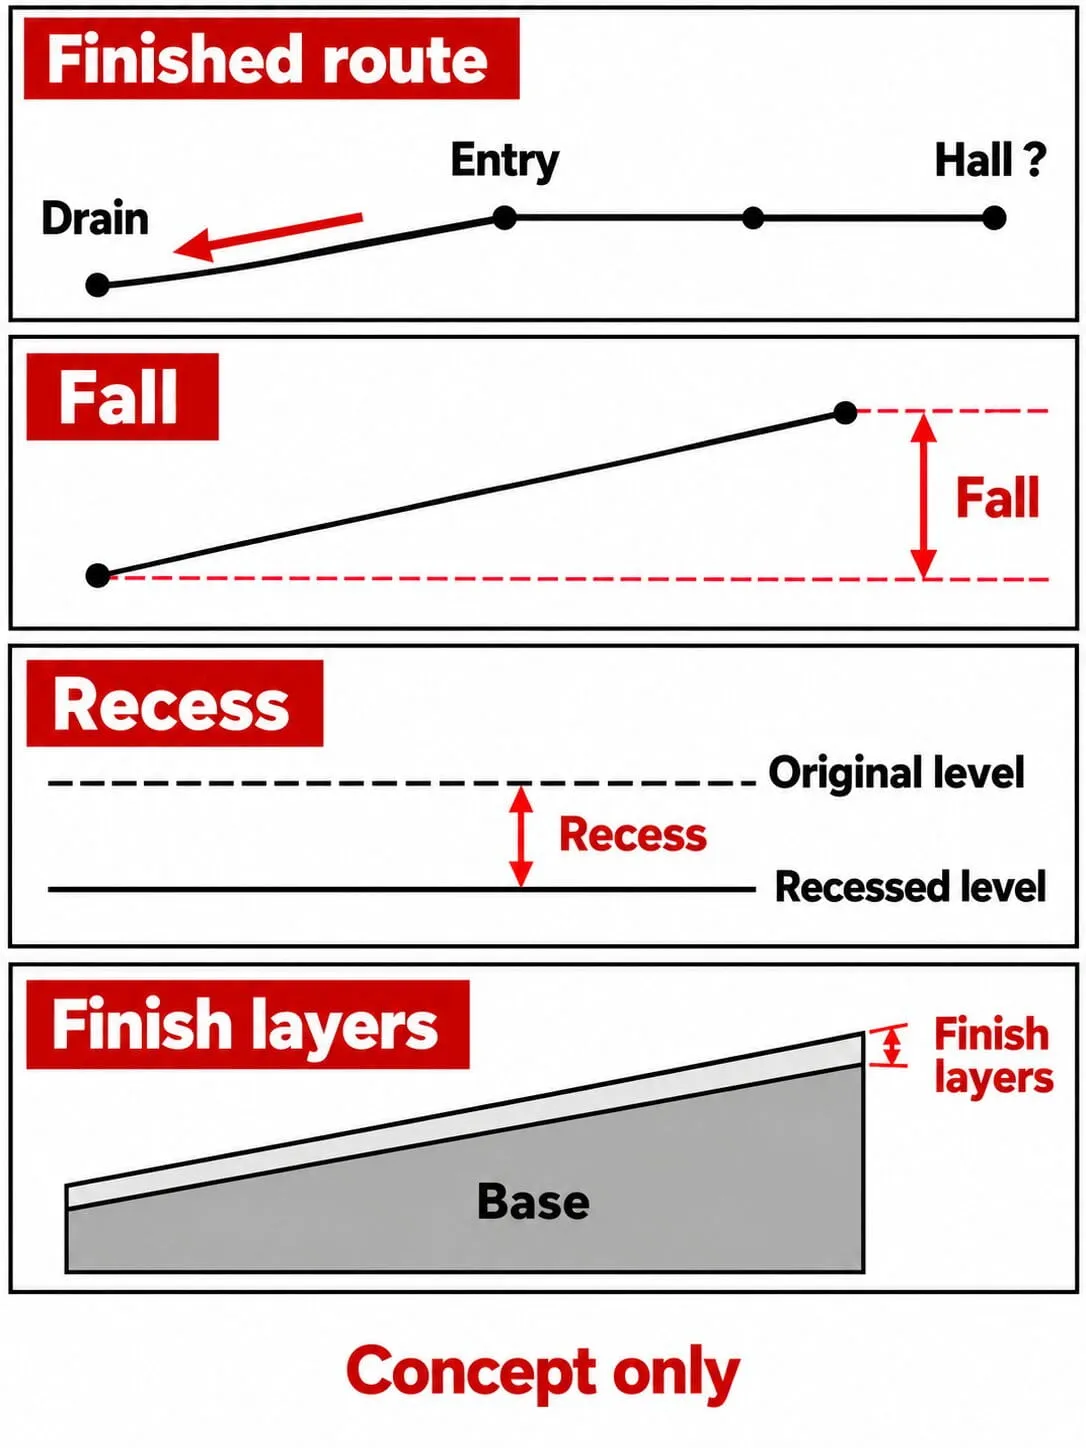
Keep three measurements separate: material thickness below the finish, the vertical fall across the shower, and any recess into the existing floor. A promised recess depth does not tell you the finished entry height. For simple arithmetic only, if a design used a quarter inch of fall per foot, a four-foot run would fall one inch. That is not a required slope or a total recess depth; the designer must use the approved assembly and locally applicable requirements. Ask for a revised drawing if a tile thickness, tray size, drain position, or heating layer changes after the first proposal.
Recess the shower, raise the room, or use a ramped approach?
| Approach | What changes | Check at the bathroom door |
|---|---|---|
| Recess shower | Shower area sits lower within a verified floor system | Finished bathroom can stay at hall level only if all layers fit |
| Raise room | Bathroom finish rises to meet the shower entry | New height difference or door conflict at hall |
| Ramp | A planned approach bridges a height difference | Approach length and usable circulation |
A ramp is not automatically accessible because it is short. Raising the room may remove one shower step while creating another at the hall. The intended user should try the proposed path, and a qualified accessibility designer or occupational therapist should assess particular mobility or transfer needs. A whole-bathroom aging-in-place plan covers those choices beyond floor height.
Find out what the structure will allow before choosing the shower system
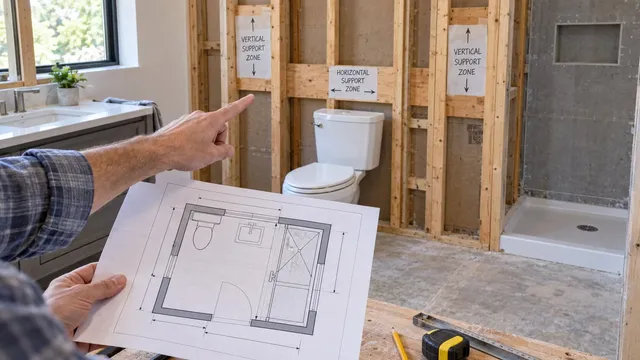
Ask the remodeler to identify the actual floor system from records and professional inspection. It might be lumber framing, engineered I-joists, trusses, or concrete. House age and a view of the surface do not settle which one you have. Ask whether the chosen assembly fits while leaving required support and plumbing space intact.
One narrow product example shows why recessing does not always mean trimming joists. Schluter’s KERDI-SHOWER-FRS instructions specify an 11/16-inch recess and joist spacing no greater than 19.2 inches on center for that system. Its product FAQ limits that option to wood framing and point drains. Those are eligibility conditions for FRS, not general curbless dimensions or approval for any existing floor.
The concept is to support a recessed subfloor within an allowed assembly while structural members remain intact. The installer and structural professional must determine whether such an assembly is suitable for this house. Do not accept a sketch that depends on cutting a member without the specific design and approvals.
A second-floor bathroom and a concrete slab raise different questions
An upper-floor bathroom may need drain and trap space, access from below, and ceiling restoration. Being upstairs is neither an automatic yes nor an automatic no. If engineered joists are present, Weyerhaeuser’s July 2025 TJI bulletin prohibits deliberate cutting or notching of the named TJI flanges; its accidental-damage information is not a recessing method. A structural engineer and the relevant manufacturer must review a proposal involving those members.
For concrete, ask whether the design requires cutting and whether reinforcement or post-tensioning is possible. The Post-Tensioning Institute warns that drilling or coring can damage tendons and cause failure in post-tensioned structures. A concrete or post-tension specialist working with structural oversight must establish the method. A scan by itself is not approval to cut.
Choose the drain around the slope, pipe route, and shower flow
A point drain can serve a curbless plan; a linear drain is optional. With a point drain, surface planes converge toward the opening. A suitable linear layout can use a single sloped plane. The visible grate is only part of the drain; the waste outlet below it has a particular position. Schluter’s KERDI-LINE information describes outlet and entrance considerations for that named product, not all linear drains.
Ask a qualified plumber to compare the proposed outlet with the existing waste route, trap, vent, pipe, and local requirements. Show every shower outlet that may run at the same time. Schluter’s KERDI-LINE-VARIO brochure distinguishes its single-head guidance from the higher-volume applications described for KERDI-LINE. The April 2026 brochure excludes KERDI-LINE-VARIO from curbless entrance placement and points to KERDI-LINE there. Similar product names do not mean interchangeable capacity or entry placement. The plumber and installer should confirm the exact current drain documentation rather than borrowing a generic flow rating.
A drain at the doorway is a design choice, not an overflow guarantee
An entrance drain may help intercept water moving toward the opening, but the proposed grate, floor slope, spray direction, screen, and downstream plumbing still matter. The KERDI-LINE guidance raises possible secondary drainage for entrance placement. Ask the installer and local authority whether that applies to the selected plan. Also ask whether the intended user can reach and clean the removable grate or strainer without an awkward transfer or kneeling.
Plan where splashes and water can go beyond the shower
The floor plan should mark three distinct things: the shower footprint, likely splash and drying areas, and the specified waterproofing boundary. Water managed on the surface by slope and an enclosure is different from moisture protection within the floor and wall assembly. Tile appearance alone does not document a waterproof assembly, and a drain cannot compensate for every spray layout. A glass door or screen remains an option with a flush entry.
Ask the waterproofing installer to identify wall-to-floor, entry, and drain connections, plus the test and inspection plan before finishes cover them. The manufacturer’s exposure guidance and locally adopted rules both matter. As one local example, Yorba Linda, California’s May 1, 2026 guidance requires the inspector to verify waterproofing and water containment within the waterproofed area before finish materials are installed for residential non-accessible/non-adaptable curbless showers there. Its limits are not a nationwide detail or an accessible-shower standard.
At handover, ask how the grate is cleaned and what the homeowner should do if drainage slows or water begins leaving the intended area. A waterproofed surrounding floor does not make those symptoms harmless. If an existing shower keeps leaking after recaulking, stop using the affected area and have a remodeling contractor assess the cause before planning a curbless replacement; do not add water to test it.
Check accessibility goals and local approval as separate questions
Review the route with the intended user: hall, bathroom doorway, approach space, shower slope, seat, controls, support, and the drain underfoot. The U.S. Access Board’s bathing-room guide discusses roll-in showers within ADA scope, including a 1:48 maximum shower-floor-slope provision. That figure is not a substitute for reconciling the project’s applicable plumbing and accessibility requirements.
The U.S. Department of Justice Title III regulation distinguishes exclusively residential use from a covered public-accommodation use in a residence. Other housing or local access rules may still matter. A qualified designer should establish applicable requirements for the actual property rather than labeling a shower “ADA compliant” because the edge is flush. For a condominium, include building-management approval and shared structural or plumbing constraints in that check.
Compare complete proposals—and recognize when a different layout is wiser
Request a finished-elevation drawing, drain and plumbing plan, specified waterproofing boundaries, products, test and inspection responsibilities, and a list of concealed conditions still unresolved. For the home’s only bath, also plan toilet and shower downtime. Price design and assessment, structural or slab work, plumbing, shower and room flooring, glass, hall transitions, finish restoration, permits, and hidden-damage allowances where they apply. Ask who coordinates the trades and owns a finished-height correction if the built work differs from the approved drawing.
Proceed when the whole design, user route, and local approvals are verified. Revise the outlet or assembly if that resolves a specific conflict. If the fully flush plan requires an unsuitable floor alteration, a blocked hall route, or unacceptable scope, compare a ramp or low-threshold proposal with the intended user. A low curb may still fail a wheelchair user’s needs. Seek another qualified proposal if someone says “we’ll just trim the joists,” treats a linear drain as an overflow guarantee, or offers no water-control and finished-height drawings.
Frequently asked questions
Can the drain and waterproofing system come from different manufacturers without affecting the warranty?
Not for Schluter’s named system: its FAQ says using another manufacturer’s drain voids the Schluter-Shower System 10-Year Limited Warranty. Confirm other manufacturers’ current written terms separately before buying.
What should I ask about drain cleaning if I cannot comfortably kneel or lift the grate?
Ask for a demonstration of how the specified grate and strainer are removed and cleaned from a position you can use safely. The KERDI-LINE documentation describes a removable grate, but your ability to reach it depends on the final layout. Have the designer revise the selection or maintenance arrangement before ordering if it relies on a task you cannot perform.
Can I replace just the drain grate later, or does the replacement have to match the existing frame?
A replacement must match the installed frame. Schluter says KERDI-LINE-STYLE grates do not fit original KERDI-LINE frames. Record the installed model and ask the supplier to confirm current replacement-part compatibility and availability.
Can a splash guard be added after the shower is tiled, and how would it affect the entrance?
Yes, some named retrofit products exist. Schluter describes SHOWERPROFILE-WSK as a surface-adhered option distinct from its tile-set WS profile. An added profile changes the entrance and cannot cure inadequate drainage or waterproofing; have the installer and intended user review suitability and applicable requirements first.
Sources
- Schluter Systems — Curbless Shower Systems and Solutions
- Schluter Systems — Raising the Bathroom Floor
- Schluter Systems — KERDI-SHOWER-FRS Installation Instructions
- Schluter Systems — KERDI-SHOWER-FRS Floor Recessing Brackets
- Weyerhaeuser — TB-818 TJI Joists with a Side Flange Notch
- Post-Tensioning Institute — Repair, Rehabilitation and Strengthening
- Schluter Systems — KERDI-LINE Linear Drain
- Schluter Systems — KERDI-LINE-VARIO Brochure
- City of Yorba Linda — Curbless Shower: Residential Non-Accessible/Non-Adaptable
- U.S. Access Board — Guide to the ADA Accessibility Standards: Bathing Rooms
- U.S. Department of Justice — ADA Title III Regulations
- Schluter Systems — Other-Manufacturer Drain FAQ
- Schluter Systems — SHOWERPROFILE-WS/-WSK