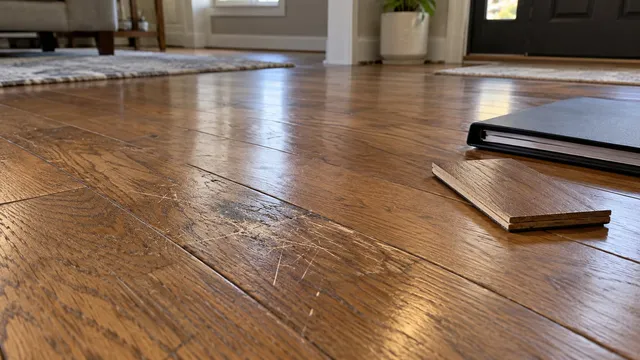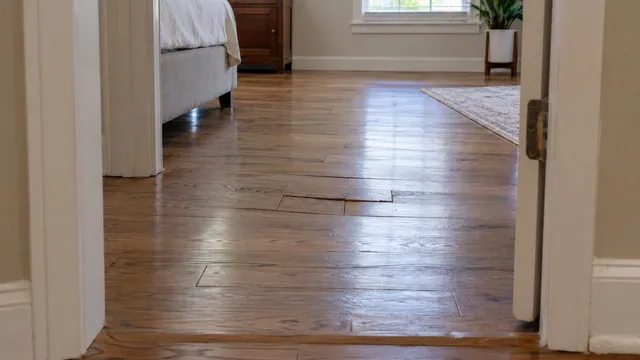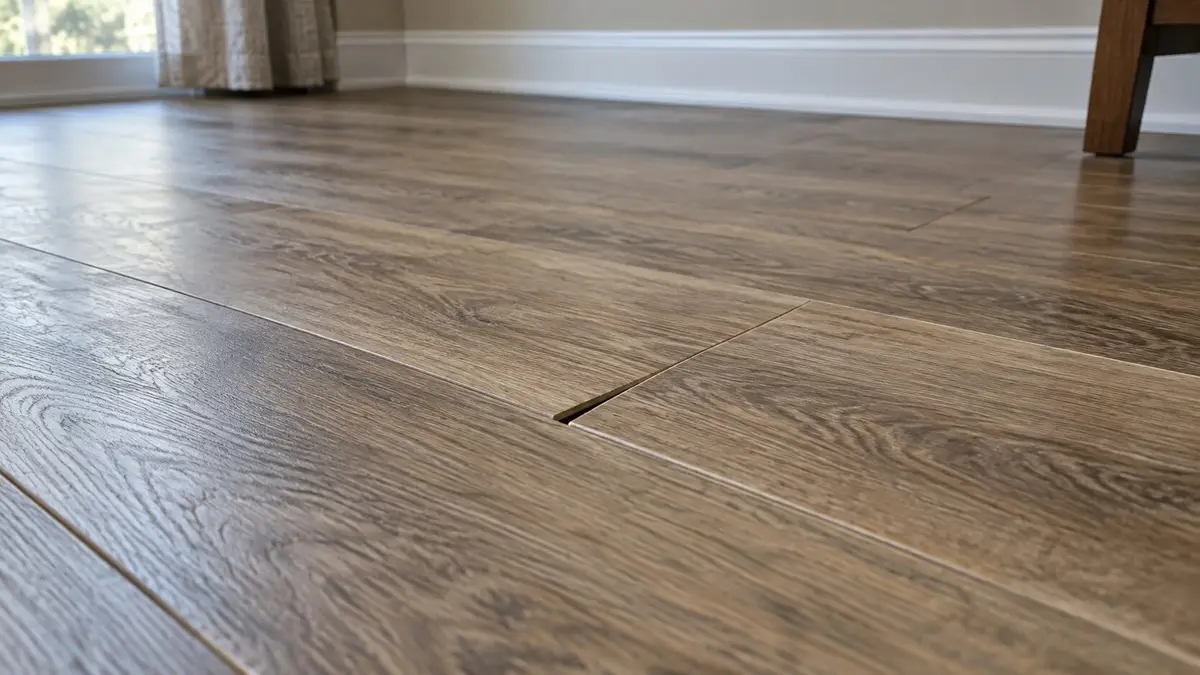
You push a vinyl plank seam together, then notice the same dark line opening again. The gap is visible; the reason it reopens may sit in the locking edge, a layer below it, or the way the floor is restrained elsewhere.
The useful next step is to identify the exact product and map the recurring pattern. Those two pieces of evidence tell an installer what must be measured before another visible-gap repair is attempted.
Why does vinyl plank flooring keep separating? Check the joint and subfloor
A gap between planks away from the walls differs from a shaped factory bevel and from the expansion gap—the planned space hidden under trim at the perimeter. Use a spare plank, package image, or the installed product’s documentation to compare the intended edge. Note whether short ends, long edges, or several adjacent seams separate, and whether any edge is chipped or raised. These patterns guide inspection without proving a cause.
Collect the brand, collection, SKU, lock type, installation date, subfloor (the surface supporting the finished floor), and any added underlayment from cartons or receipts. COREtec’s installation page directs owners to product-specific instructions, including package information. Karndean’s rigid-core guidance describes different locking systems. A wood-look photograph or brand name alone cannot select the right repair method. If records are missing, ask the retailer or manufacturer to help identify the product before altering a joint.
Confirm whether the floor floats as a click-lock assembly, was glued down, or was loose-laid. Rigid-core planks have a stiffer core: SPC means stone-plastic composite and WPC means wood-plastic composite. Flexible luxury vinyl plank (LVP) bends more readily. An attached pad is factory backing bonded to a plank; separate underlayment is another layer. The same visible gap can require different checks for each product and method.
If the planks are glued down, the inspection changes
Adhesive type, substrate preparation, moisture limits, and installation timing become part of the diagnosis. Karndean’s glue-down instructions connect adhesive working conditions with gapping and peaking risk for its system. A floating-floor seam tip is not a glue-down repair plan.
Water, a raised edge, or a sinking area changes the next step
A dry, stable opening can be photographed for an installer. A raised edge can catch a foot; a visibly sinking or unstable area should be kept out of use. Do not bounce on it to test support. Arrange prompt assessment from a qualified flooring installer for a raised plank, or a building contractor or structural engineer for an actually sinking floor. For a broader softness problem, the soft-spot guide helps frame the support questions.
If a leak is active or water emerges at a seam, address the source and request appropriate drying assessment before closing the joint. A plumber handles a supply or drain leak; a restoration professional handles water-damaged or contaminated materials. MSI’s Everlife guidance notes that excess moisture can damage underlying wood, while the EPA’s home moisture guide emphasizes fixing the source and drying affected materials. Waterproof plank marketing is not evidence of a dry subfloor. A musty odor justifies inspection; it does not identify mold.
Older resilient flooring and adhesive may be exposed if the new floor is opened. Age or appearance cannot identify asbestos. EPA guidance calls for assessment by a trained and accredited asbestos professional before suspect material is disturbed. Do not sand, drill, scrape, sample, or vacuum it to see what it is.
Use the pattern to decide what needs checking underneath
This table turns observations into inspection questions. More than one condition can coexist; no row assigns fault.
| Observed pattern | Possible issue to inspect | Evidence needed |
|---|---|---|
| The same seam repeatedly opens | Engagement, profile damage, or continuing movement | Joint condition, assembly method, recurrence history |
| Separation occurs with movement during normal walking | Uneven support, a soft layer, or a flexible substrate | Exposed-surface measurements and all layer identities |
| Gaps cluster near an island, doorway, or trim | Restricted movement or unsuitable transition | Product clearance and fastening details |
| Changes follow strong sun or temperature and humidity changes | Heat or room conditions outside product limits | Exposure history, measured room conditions, product limits |
| Gaps appear across a long run | Missing expansion joint or transition | Run length and selected-product guide |
| Separation follows a leak or comes with staining or odor | Concealed moisture in the assembly | Source investigation and material-appropriate tests |
MSI’s rigid-core guidance links substrate irregularities and installation debris with locking trouble in its products. Karndean’s guidance identifies movement clearance, fixtures, and exposure conditions as installation questions. These are reasons to inspect, not a ranking of which problem is most likely in your house.
Clearance numbers vary. Karndean’s rigid-core guide calls for at least 3/16 inch at the perimeter, increasing to 5/16 inch for areas over 1,000 square feet and 3/8 inch in sunrooms or other areas with large temperature swings. It also specifies a 5/16-inch expansion joint when a run exceeds 50 feet. Mannington’s ADURA Rigid guide calls for about 1/4 inch at fixed objects. These are examples to compare with the identified product, not dimensions to retrofit blindly into an unknown floor.
Low spots, ridges, and movement need different measurements
Flatness describes how much the surface varies under an appropriately sized straightedge. It differs from whether a floor is level across the room and whether its support flexes under use. Shaw’s SPC instructions limit variation to 3/16 inch in 10 feet or 1/8 inch in 6 feet for those products. Mannington’s ADURA Rigid guide gives 3/16 inch in 10 feet and 1/32 inch in 12 inches. Your product’s guide governs. Measurements on finished planks can guide access, but subfloor acceptance requires examining the surface the product actually rests on.
Identify every layer, including an old floor or extra pad
Ask the installer to list the plank, attached backing, any separate pad, old floor, and structural subfloor. Which layer compresses or moves? Shaw cautions that soft substrates can compromise a lock and permits a second underlayment up to 3 mm thick under its currently sold SPC products with attached pad. By contrast, Mannington’s ADURA Rigid instructions discourage added pad. Neither rule should be transplanted to an unidentified floor. A cushion is not a leveling repair. If the old layer is tile, the vinyl-over-tile guide covers flatness and height questions before an overlay is accepted.
What to record safely before the installer visits
Take a dated close photograph with a ruler resting beside the opening, then a wide photograph showing its position in the room. Mark each seam on a sketch and say whether the same seam reopened after a prior attempt. Record first appearance, previous repair materials, normal-use movement already noticed, sun exposure, HVAC interruptions, radiant heat, leaks, and remodeling near cabinets or trim.
Save the invoice, spare planks, package labels, substrate preparation photos, and any earlier moisture tests. A photo cannot reveal the underside of a lock, concealed clearance, or a wet layer. Do not pry a plank, remove trim, shift a heavy island, inject material, or repeatedly strike the joint to recreate the symptom.
Ask for a diagnosis that connects the seam to the installation
Start with the original installer or retailer when practical, or a qualified resilient-flooring installer. An independent flooring inspector is useful if the cause or proposed scope is disputed. Ask for a written record with four separate fields: observation, measurement and location, product criterion, and interpretation. It should also say what remains concealed and whether access is needed to settle it.
The professional should inspect joint engagement and profile damage, layout, layers, support condition, movement restrictions, environment, and moisture where indicated. If opening the floor is proposed, agree first on the location, possible damage, photography, and reconstruction plan. A flooring installer should route a plumbing leak to a plumber, contamination or drying to a restoration specialist, and concerning support movement to a qualified building professional or structural engineer.
Demand product-specific answers where manuals differ
For example, Mannington’s March 2026 ADURA Rigid guide says not to install cabinets or islands on that floating floor. Its still-linked November 2022 under-cabinet supplement describes conditional arrangements. If that product is involved, ask Mannington in writing which document governs the actual installation. Do not choose the convenient exception yourself. For a kitchen project, coordinate the cabinet, flooring, and appliance installation order.
The same principle applies to underlayment and slab moisture. A vapor film, a moisture-mitigation system, and cushioning pad perform different jobs. Mannington’s guide discourages polyethylene immediately beneath its ADURA Rigid products and gives its own response to excessive slab moisture. The correct treatment comes from the selected floor and installation system, not a generic plastic-film rule.
Match the repair to what the inspection finds
| Confirmed finding | Repair to discuss | First condition to settle |
|---|---|---|
| Isolated joint defect with suitable surrounding conditions | Product-approved re-engagement or plank replacement | Is the locking profile still usable? |
| Unsuitable support or layer | Access and correct the layer, then reinstall or replace affected planks | How far does the condition extend? |
| Restricted floating assembly | Correct clearance or transition as approved, then assess joints | What does this product require at fixtures? |
| Moisture-damaged or unstable substrate | Specialist source and substrate repair before new flooring | Is access safe and material condition acceptable? |
| Widespread damaged joints or impractical access | Compare partial reconstruction with broader replacement | Are matching planks available and compatible? |
Mannington documents different replacement paths depending on access to a perimeter. That demonstrates why location matters; it does not provide a universal cutting or glue procedure. A tapping block or pull bar can seat a joint during installation, and a suction tool may draw accessible planks together; if that seam repeatedly reopens, simply closing it has not addressed the cause. Closing a seam, gluing an edge, fastening to a substrate, and replacing a joint solve different problems. Generic superglue, injected foam, nails, and repeated tapping should be questions for the actual manufacturer, not default cures. Some specified repairs use adhesive, so ask for the exact approved method instead of a blanket claim.
Compare the repair scope and agree how success will be checked
Request separate lines for diagnosis and access, plank removal or reuse, layer and substrate preparation, moisture work, replacement stock, trim and transitions, furniture handling, disposal, and restoration. Ask what is included, excluded, or conditional after opening the floor. Keep product-warranty, installer-workmanship, and paid corrective-work terms separate.
No single price covers a recurring gap: the visible seam does not reveal how much flooring must be lifted to reach it. Book an inspection with the product details and gap map in hand, then obtain local written estimates based on the same measured findings. Ask who approves concealed work before it starts. If replacement is proposed over a basement slab, the basement-floor moisture guide covers that separate choice. After repair, keep photographs, applicable measurements, room conditions, and a clear callback process if a seam reopens. The floor should be checked against its product requirements, not merely photographed closed.
Frequently asked questions
Can a rolling chair or frequently moved furniture contribute to a recurring gap?
It can add use-related stress to a floor; ask the installer to look beyond the chair path when diagnosing this seam. Record where the chair travels and ask the installer to inspect the joint, support, and the product’s furniture guidance.
Can an unused spare plank still be compatible after the product changes or is discontinued?
Possibly. Ask the manufacturer or retailer to verify the locking profile, dimensions, and production compatibility before a repair is planned. Matching color alone is insufficient.
What records help when the installer and manufacturer disagree about responsibility?
Keep the exact SKU and dated guide, installation and substrate records, photos before and after each repair, and the independent inspector’s measurements. Ask each party to identify the specific finding and contract or warranty term behind its position.
Does a new gap after a long period of trouble-free use rule out an installation problem?
No. It changes the timeline but does not identify the cause. New exposure, a fixture change, joint damage, moisture, and the original installation all remain questions to check against the actual floor.
Sources
- Shaw Floors — Resilient Installation Guidelines for SPC Products
- Mannington — ADURA Rigid Installation Guidelines
- Karndean — Rigid Core: Plank and Tile
- M S International — DIY Installation Instructions: Everlife Luxury Vinyl Plank Rigid Core Flooring
- U.S. Environmental Protection Agency — A Brief Guide to Mold, Moisture and Your Home
- U.S. Environmental Protection Agency — Protect Your Family from Exposures to Asbestos
- Karndean — Gluedown Installation Guidelines USA and Canada
- Mannington — ADURA Rigid Under Cabinet Guidelines
- COREtec Floors — Installation and Maintenance