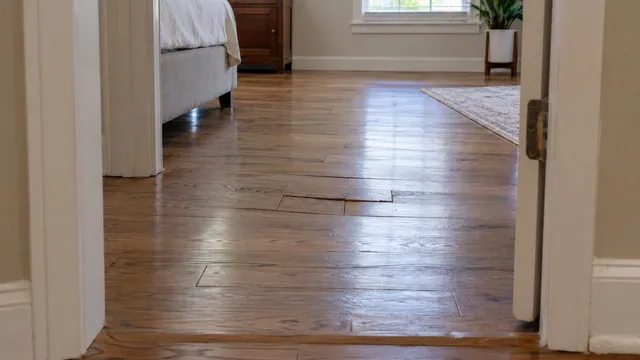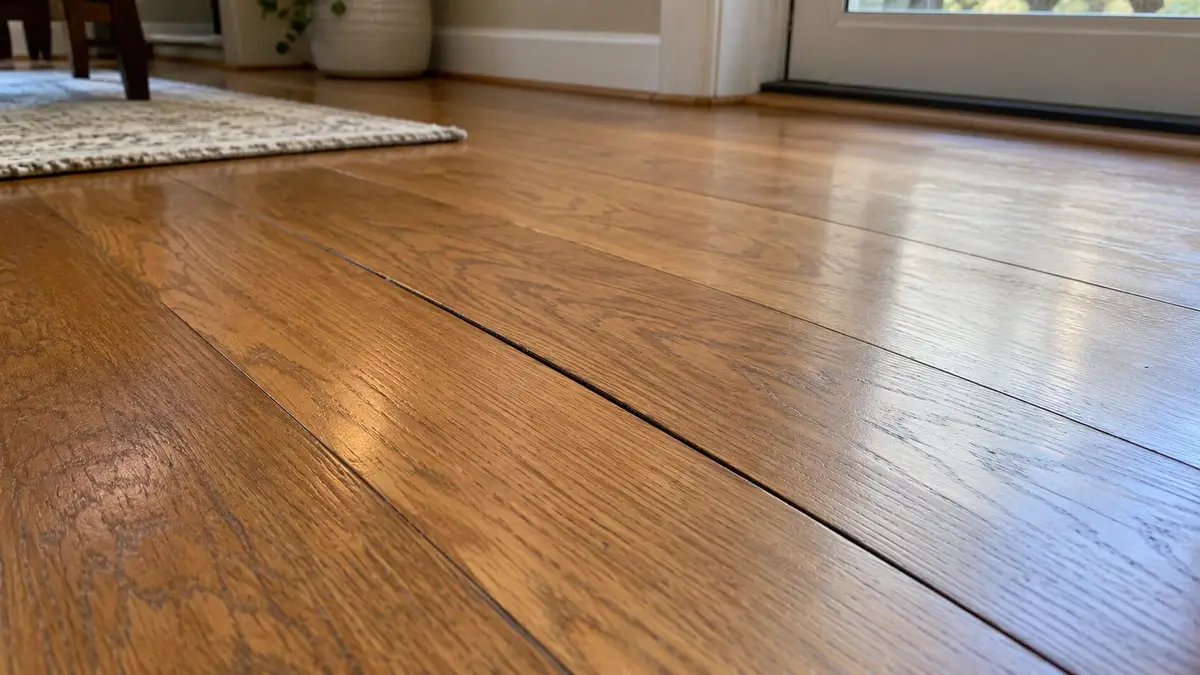
Winter heating dries indoor air. A hardwood floor can then lose moisture and its boards shrink across their width, opening seams that close as humidity returns. That cycle is normal; a gap that stays open or grows calls for a closer look. One close photograph hides that history.
Before using filler, identify the material and record the pattern. A wood-flooring professional can then compare your history with the installed floor’s construction and instructions. The aim is a repair that addresses a stable problem without blocking the movement the floor still needs.
First, identify what is actually open between the hardwood boards
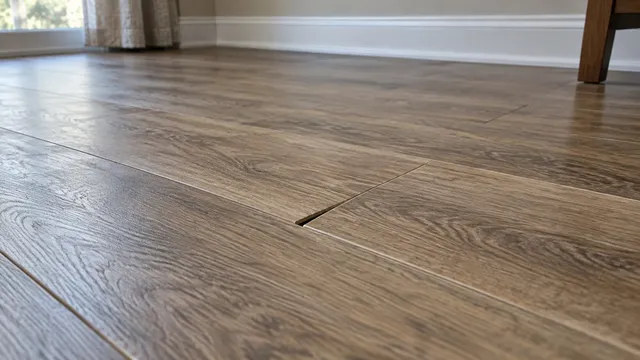
Check a spare board, carton, invoice, or earlier installation photo. A factory bevel is a shaped edge that creates a consistent line even when boards meet. An actual gap opens between adjacent edges. A split runs within one board. An intentional expansion space at a wall or transition has a different purpose. Bruce’s hardwood FAQ describes edge profiles and molding details; verify the appearance against your specific product.
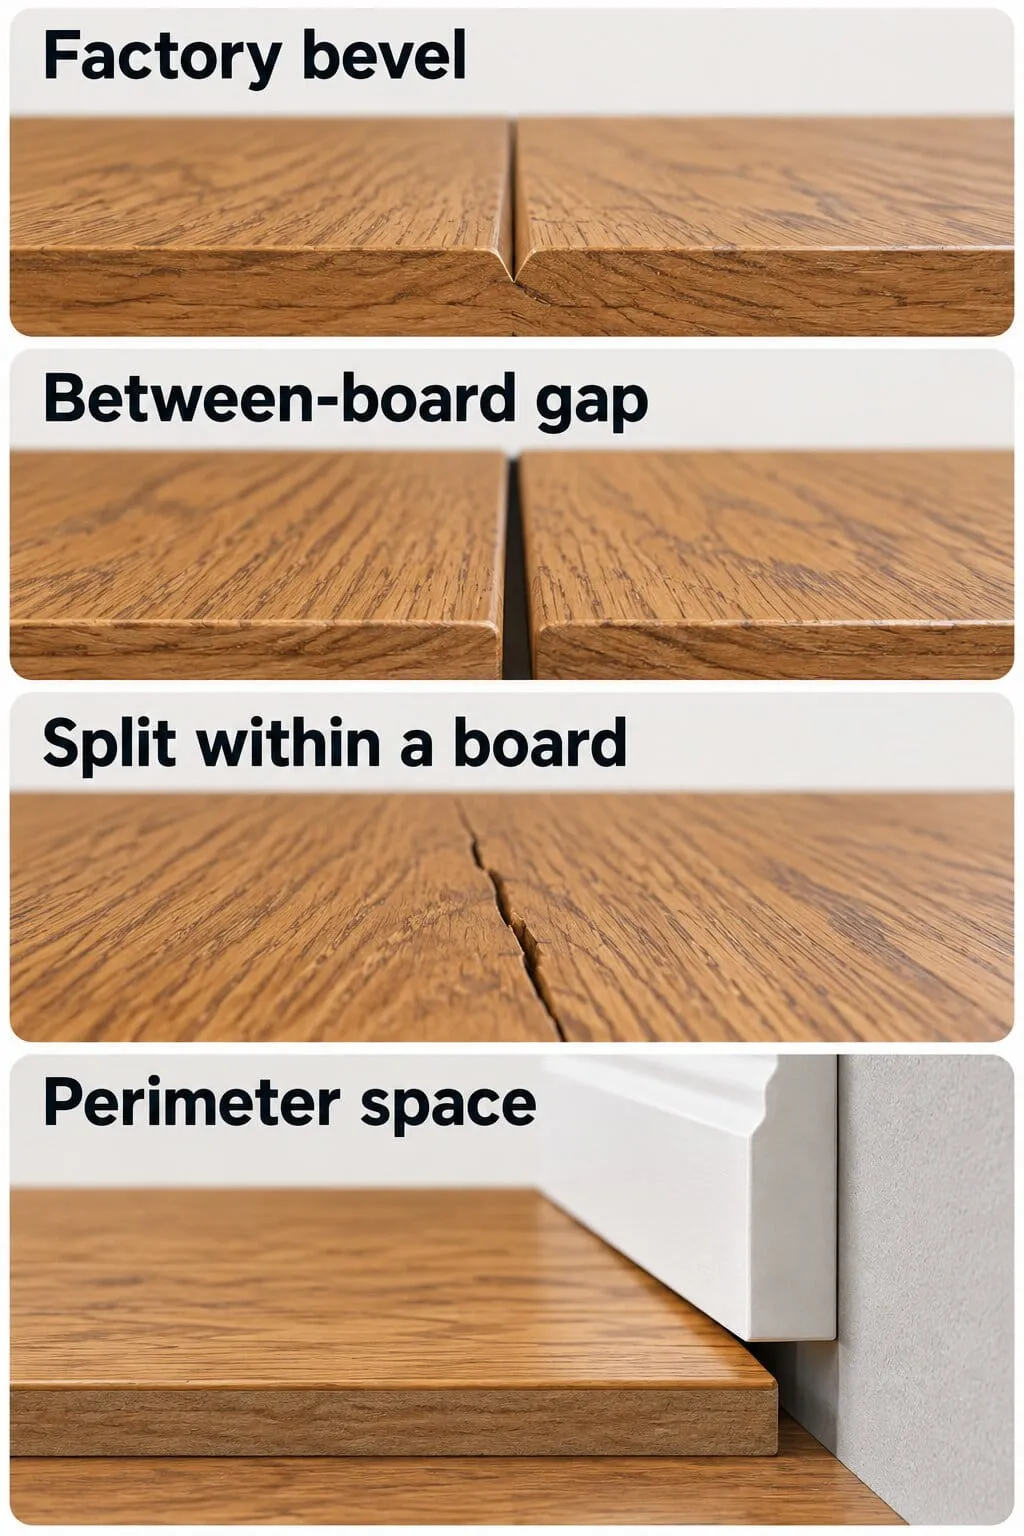
These shapes identify what is open; they do not diagnose its cause.
Record whether the opening follows the long side or short end of a board. A narrow dark line is not automatically a deep separation; do not scrape it to find out. Also identify whether the floor is solid wood or engineered wood, which has a built-up core. A prefinished board can be either one. Engineered construction often limits dimensional change, but it does not make the floor immune to moisture or installation conditions.
Raised edges are a different symptom. If the board edges sit higher than their centers, use the hardwood-cupping moisture guide before treating the dark line as a simple gap. For softness, the soft-spot guide shows what to ask about the supporting floor.
Required expansion space is a different kind of gap
Many floor systems need planned room to move at their perimeter or transitions. Some installations also include deliberate internal spacing. Bruce’s instructions for its ¾-inch solid floor specify expansion allowances for that floor and installation method; another product may differ. NWFA’s seasonal-gap discussion cautions against filling designed movement spaces.
Do hardwood floor gaps close after winter?
The NWFA’s homeowner guidance calls gaps normal when they open and close with seasonal changes. It says to call a professional if they are large or fail to close in more humid months. Winter is a useful clue, but indoor humidity matters more than the calendar. No single gap width works as a verdict for every product.
| Pattern you can observe | What it suggests | Next step |
|---|---|---|
| The same openings recur in dry months and close when humidity returns | Normal seasonal movement | Log indoor conditions and keep comparison photos |
| Openings remain conspicuous through a measurably more humid indoor period, or continue growing | The seasonal explanation needs checking | Arrange a wood-flooring inspection |
| A few larger lines divide otherwise tight groups of strips | A distinct pattern worth documenting | Identify floor and finish before assigning a mechanism |
| Gaps were visible when new installation was completed | A useful starting date, not proof of cause | Notify the installer or retailer and retain the original records |
| Sharp edges, loose pieces, softness, or active water accompany gaps | An immediate use or moisture concern | Keep people away; call a wood-flooring professional, plumber for a leak, and restoration contractor for water damage |
The grouped-strip pattern can have more than one explanation. The Maple Flooring Manufacturers Association describes sidebonding, where finish bonds strips into groups that later separate at wider lines. That mechanism is a question for an inspector when the finish and floor construction fit; a photograph alone cannot confirm it.
Why a dime or credit card cannot settle the question
You can record a dimension, but a coin is not a pass/fail gauge. Board width, species, grain orientation, construction, previous compression at an edge, and installation details all matter. The USDA Forest Products Laboratory’s flooring research describes uncertainty even when dimensions and moisture are measured. Today’s gap cannot reveal the floor’s original moisture condition or who is responsible.
An apparently small opening may stay open if conditions or damage have changed. A persistent cosmetic opening also does not automatically require replacement. Use the dimension as one record alongside timing and product identity.
Collect a useful record before changing the humidity
Photograph the same seam from the same angle, with a ruler resting beside rather than inside it. Note the date, room, location, indoor temperature and relative humidity, and whether the affected area is spreading. Save installation and refinishing records, previous photos, and any leak or HVAC history. Report a new-floor concern to the installer or retailer now; monitoring need not postpone that contact.
A room hygrometer measures the air at that time. It does not measure the board or subfloor, and one reading after you change the thermostat or humidifier cannot reconstruct the earlier season. Each time you check, record:
- The date, room, and the same marked long-edge or board-end seam in a photo.
- Indoor temperature and relative humidity from the same location.
- Whether that seam looks narrower, wider, unchanged, or uncertain.
Stabilize conditions within the floor’s limits
Obtain the installed product’s current environmental and care instructions before changing the home to chase a gap. Published ranges differ: NWFA’s homeowner guidance says 30–50% relative humidity, while Bruce’s general FAQ says 35–55%. Bruce’s own sheet for its ¾-inch solid floor says 30–50%. Follow the actual product and home conditions rather than averaging these numbers.
If you use a humidifier, the EPA advises keeping indoor humidity at or below 50% and reducing use if condensation or nearby dampness appears. Clean the device as directed. Condensation is a stopping point, even if a seam remains visible; ask an HVAC or building-envelope professional and the flooring manufacturer how to reconcile the conditions. Do not steam-mop, wet the seam, or leave standing water to swell the wood. Improved air readings do not prove that wood and substrate have stabilized, and no fixed closure date applies to every floor.
What an inspection should resolve when gaps persist
Start with a wood-flooring professional and consider an independent NWFA Certified Inspector when explanations conflict or a major replacement is proposed. Give them the product and installation papers, map, photographs, environmental log, and repair history. Request a report separating what was observed from what was inferred.
The inspection should identify the exact floor, construction, finish history, and installation method; map whether openings run along sides, ends, one room, or groups; and compare affected with unaffected areas. Ask for flooring and relevant substrate moisture findings, instrument or method, and the product criteria used to interpret them. Bruce’s solid-wood instructions and Somerset’s SolidPlus engineered instructions show what product-specific moisture and substrate information belongs in the installation record.
Match the inspection to the floor assembly
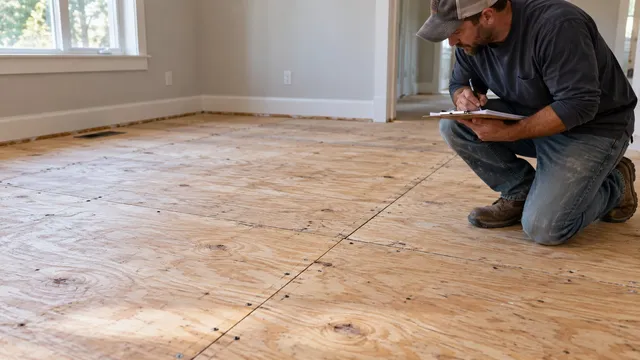
For the installation in front of them, the professional may need to check support and flatness, fastening or adhesive condition, prior acclimation records, and planned expansion spaces. Ask whether the pattern fits boards that were not acclimated, edges crushed during past wetting, a poorly insulated heat duct beneath the gap, wrong fasteners or adhesive, an inadequate subfloor, or structural movement. These are possible causes from NWFA’s seasonal-gap analysis, not a diagnosis from the gap’s size. If the floor also moves or squeaks, the squeaky-floor guide helps frame the support question. If someone proposes sidebonding, ask what evidence fits this finish and construction.
Active water calls for a plumber to find a leak and a water-restoration contractor to assess wet materials before wood repair. A framing contractor should inspect suspect support; a structural engineer must assess framing a contractor reports as damaged or undersized. You do not need to pull boards, probe hidden layers, or enter an unsafe space to make the referral.
Should you fill gaps in a hardwood floor?
Seasonal openings that move with indoor conditions generally should not be filled. Hard filler can resist later expansion and damage edges. Nor should planned expansion spaces be filled. For a documented stable abnormal opening, a professional can evaluate compatible filler, a fitted wood insert, or replacement of an individual damaged board. NWFA’s sliver-repair discussion describes one option for selected permanent gaps, not a universal home repair method.
Ask what correction is intended: appearance alone, an environmental or moisture cause, a substrate issue, or a damaged board. A visually neat seam does not prove that the underlying condition is resolved. Matching aged wood and finish can be difficult, and engineered floors have product-specific face-layer limits. The refinish-or-replace guide covers wear and remaining thickness when finish work is proposed. Ask for a sample match when practical rather than an invisible-repair guarantee.
Compare scope rather than a price per gap
Have each estimate separate diagnosis, any source or environmental correction, local wood work, substrate work, and finish blending. Identify the rooms affected, access and furniture needs, replacement stock, return-to-use guidance for the selected products, follow-up, and what seasonal movement may remain. Ask how a discovery changes the price and who approves additional work.
No reliable national price range covers this narrowly defined problem. Distribution, access, matching stock, finish area, and local labor determine the actual quote. Review the applicable product warranty and workmanship terms without assuming that a gap automatically qualifies. If a proposal relies on one photograph or a universal gap-size rule, request measurements and a second opinion before extensive removal. Your next step is either a consistent observation record or a product-specific inspection, based on how the gaps behave.
Frequently asked questions
If I bought the house with the floor already installed, how can I identify the product and its care requirements?
Look for leftover cartons, spare boards, receipts, or a prior owner’s records. A flooring professional or retailer may help identify it, but a similar color or bevel does not confirm a product. Until it is identified, avoid adopting a different manufacturer’s repair limits.
Should a complaint about new hardwood gaps go to the installer, the store, or the manufacturer first?
Start with the installer or retailer named in your purchase documents, and send dated photos and the completion record. Follow the actual contract and product warranty for any manufacturer route. An opening alone does not decide which party is responsible.
How should I document a gap problem if the original installer took no moisture readings?
Start a dated record now. Save original and current photos, product information, indoor-condition logs, and any later professional measurements. Note that the installation reading is missing; a present-day reading cannot reconstruct it.
Does changing my heating or cooling equipment mean I should start tracking the floor again?
Yes. A change in indoor conditions can change wood movement. Record the conditions and the same seams before and after the change, while staying within the installed product’s guidance and stopping humidification if condensation develops.
Sources
- National Wood Flooring Association — Problem Prevention
- NWFA / Hardwood Floors Magazine — ‘Tis the Season: Understanding Seasonal Related Issues
- Bruce — Hardwood Flooring FAQs
- Bruce — Solid Wood Flooring 3/4 Inch Strip and Plank Installation Instructions
- Somerset Hardwood Flooring — SolidPlus Engineered Hardwood Flooring Installation Guidelines
- U.S. Environmental Protection Agency — Use and Care of Home Humidifiers
- Maple Flooring Manufacturers Association — Sidebonding and Panelization
- NWFA / Hardwood Floors Magazine — Hardwood Hints: Filling Gaps with Slivers
- USDA Forest Products Laboratory — Measurement and Practical Application of Tangential Dimensional Change Coefficients to Hardwood Flooring