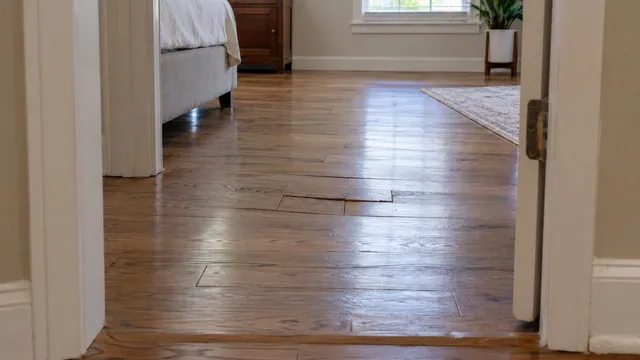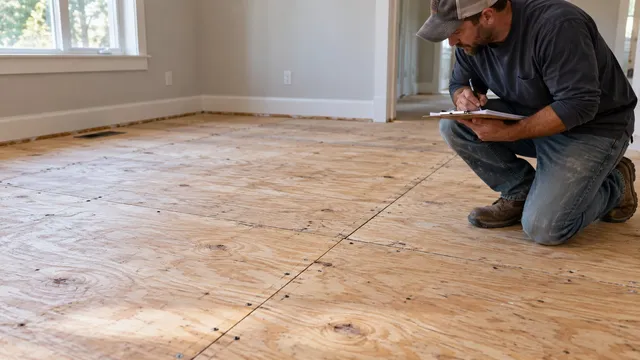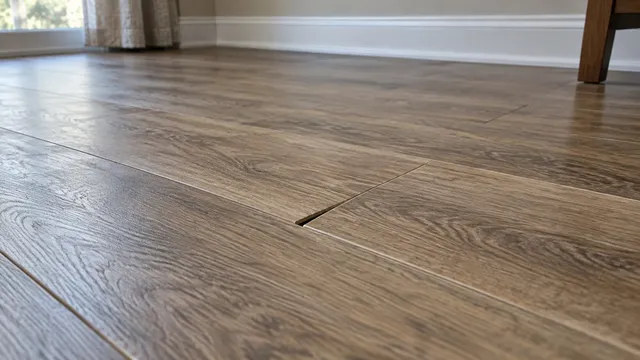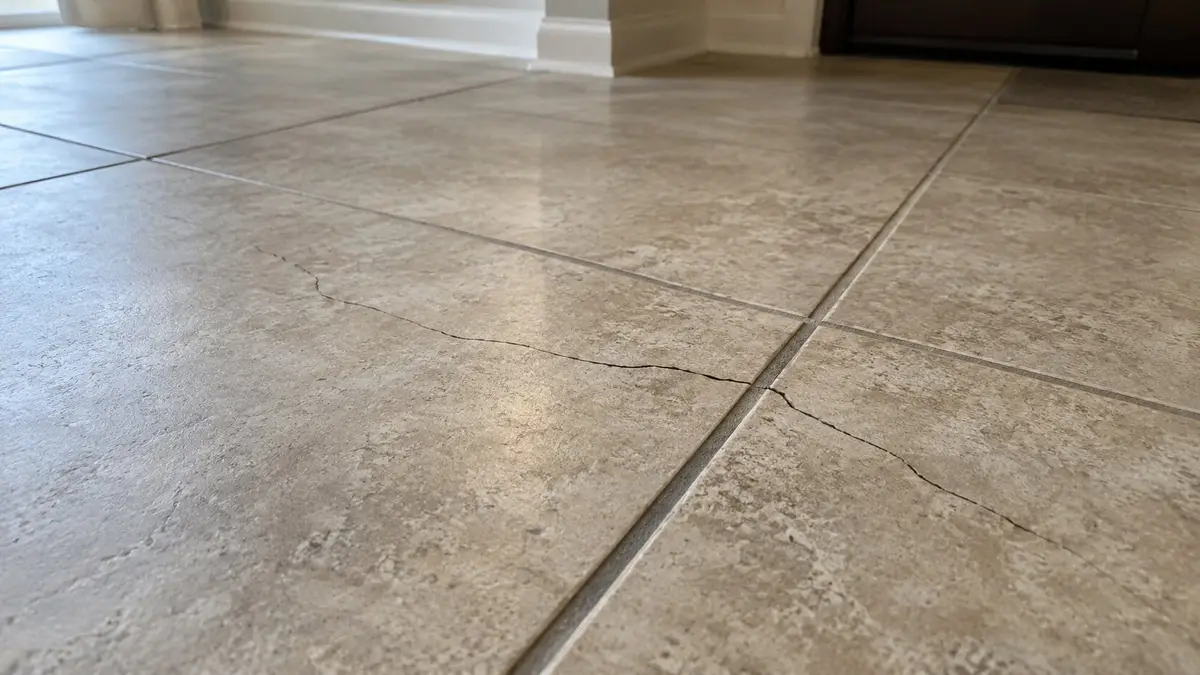
A replacement tile cracks in the same place as the one you removed. That repeat path usually points to the floor beneath the tile: a crack or joint in concrete, a wood subfloor that flexes, or missing support under the tile. The visible line shows where damage surfaced, so the installer still needs to find which layer caused it.
Before a third patch hides the evidence, gather the earlier photos and repair details. A useful proposal should explain what the installer will look for beneath the finish, how far access may need to extend, and what would change the planned repair.
Record what returned—and check whether the area is safe to use
Take a dated wide photograph of the room and a close view of the crack from safe, stable footing. Mark the old and current crack paths, the previous repair boundary, and dates of installation, repair, and recurrence on a simple sketch. Note whether the line crosses grout or adjacent tiles, and whether a known impact, appliance move, leak, or heating change preceded it. Those facts guide an inspection; they do not assign cause.
Save any installation photos, tile or membrane product names, invoice, and repair scope. Tell the installer whether the floor is believed to be over concrete or wood framing, and whether it contains heating. The Tile Council of North America’s cracked-tile discussion stresses that the damaged tile may be the visible component rather than the defective one, and that the actual cause needs onsite investigation.
When should a cracked tile area be kept out of use?
There is no universal safe waiting period or crack width for a repeat crack. Keep people away from loose fragments, sharp edges, raised or tented tiles, and a floor that visibly shifts or sags. Do not press a lifted tile down or deliberately bounce on the area.
Significant deformation or suspect support damage warrants a structural engineer. Active water calls for a plumber to find the source and a water-restoration contractor to assess damaged materials before retile work.
Why do floor tiles keep cracking in the same spot?
The path helps an installer decide what to expose. It cannot confirm the cause by itself.
| What you can observe | Possible issue to investigate | What remains to verify |
|---|---|---|
| Line repeats across tiles | Slab crack or covered joint | Match the line to the exposed slab or transition |
| Cracks with floor bounce | Flexing wood subfloor or framing | Find the moving layer and check its support |
| One tile breaks under a load | Void or poor mortar contact | Check support under its edges and corners |
| Tile lifts or tents | Trapped expansion or bond loss | Check movement joints and exposed surfaces |
| Grout cracks first | Grout or floor movement | Check tile bodies and the floor beneath |
A line through several tiles can point toward the substrate
The TCNA’s cracked-tile FAQ explains how a concrete crack or covered control joint—a planned groove that directs slab cracking—can reflect into bonded tile. Compare the line with the actual slab or transition. A repeated surface crack does not by itself prove settlement.
Cracks plus a bouncy floor: check the wood subfloor and joists
On a framed floor, the installer should distinguish joists, subfloor panels, underlayment, and tile-setting layers. A floor that deflects under ordinary use can break tile or grout. The TCNA’s grout discussion also lists grout-installation causes, so cracking alone cannot locate the moving layer. Ask whether the exposed panels show water damage or inadequate support. If softness is present, the soft-spot guide explains that priority.
Lifting and hollow sounds need different interpretations
Raised tile warrants a look at movement joints—the gaps that allow a tile field to expand without pressing against walls or itself—and the bond below. Heating and direct sun may add to expansion. The TCNA’s tenting guidance says tenting years later usually means the original bond was good; later stress overcame it. A clean-looking separated surface does not erase that history.
A hollow sound can reflect a void, loose tile, or other conditions. The TCNA’s hollow-tile FAQ says sound alone is not a failure verdict over concrete, but failure is more likely over wood. TCNA also lists a moisture-deteriorated subfloor and moisture-sensitive adhesive among possible bond-loss causes. Have the installer inspect the assembly rather than relying on a coin tap.
Have the installer verify the layers before covering them again
The investigation can begin with records and accessible conditions. If selective removal is needed, agree on the opening and have the installer photograph the exposed layers before they are discarded. Ask which interface failed and what evidence supports that finding.
Over concrete, the installer should look for a crack or joint beneath the affected area and assess whether displacement is present. Uneven tile edges do not prove the slab itself has different heights. Over framing, the assessment should cover relevant support and panel condition before selecting a tile assembly. The TCNA’s analysis of cracked tile describes both concrete and wood-floor pathways without making every cracked tile a foundation defect.
The intervening layers matter. For example, USG’s Durock with EdgeGuard guide specifies bedding, layout, fastening, and joint treatment for its floor system. James Hardie’s Backer Board FAQ says thinset bedding under its board fills deviations that otherwise leave air pockets and allow tile to crack under load. These are distinct products; the installed board’s current instructions govern. Backerboard cannot stiffen an inadequate floor.
Mortar contact also needs evidence. The Ceramic Tile Education Foundation explains why mortar applied to a tile’s back or a particular trowel size does not prove adequate support. During a new installation, the installer can check contact while mortar is fresh. A homeowner should not demolish a bonded tile to perform that installation check.
Identify hidden systems before anyone opens the floor
Tell the tile installer about floor heating or waterproofing and ask how these will be protected and reinstated if affected. For a shower that also leaks, see the guide to recurring shower leaks. Before old flooring or adhesive is disturbed, have an accredited asbestos inspector assess suspected asbestos-containing material; EPA guidance says appearance cannot settle its content. Grinding mortar can produce respirable silica, so the installer needs a dust-control plan; OSHA’s silica overview addresses that worker hazard.
Ask what the proposed membrane or movement joint will actually solve
“Anti-crack membrane” is not enough detail for a quote. Crack isolation limits how small slab cracks transfer into tile; uncoupling lets the tile layer move differently from the layer below; waterproofing blocks water. One product may have several functions, but its approved assembly and joint details determine which apply. Ask for the exact product, full layer sequence, and treatment of joints. A membrane cannot stiffen a flexing subfloor.
For example, CUSTOM’s FractureFree data sheet addresses limited nonstructural movement and excludes vertical-movement cracks. It calls for membrane to extend beyond both sides of a crack by at least the diagonal length of the tile. That can require lifting intact neighboring tiles. CUSTOM’s RedGard sheet has different crack-prevention, waterproofing, and slab-joint limits; its details cannot be borrowed for FractureFree.
Even an uncoupling system needs movement joints: Schluter says DITRA still requires perimeter and field joints. Ask the installer to identify any expansion or control joint beneath the floor and show where the finished tile can move. Filling a repeat crack with epoxy or new grout may improve its appearance, but it is a cosmetic patch while the cause remains.
Decide whether the repair needs one tile, a strip, or a wider area
One-tile replacement can make sense when the issue is local and the approved repair detail fits within that access. If a line continues under neighboring tiles, or the specified membrane treatment extends farther than the exposed spot, apparently sound neighboring tiles may need removal. More extensive correction may be justified when support or underlayment defects continue beyond the patch. The number of visibly broken tiles does not set the repair boundary.
Ask what the installer must expose to confirm each option and what finding would expand the scope. Matching stock, visual blending, finished height, and restoration of nearby finishes also matter. If someone proposes covering the damaged floor with vinyl, the vinyl-over-tile guide covers preparation limits; an overlay alone does not resolve unexplained movement. On a framed floor with recurring noise before replacement, the squeaky-floor guide addresses the preinstallation inspection pause.
Compare the full repair scope and get a plan for any recurrence
Request separate lines for diagnosis, access and disposal, substrate repair, tile-system installation, and finish restoration. Ask what labor and materials are assumed for dust controls, matching tile, hidden heating or waterproofing, specialist assessment, and concealed damage. Have the contractor document findings before covering the work and say how changes are approved.
There is no useful single national price for a repeat crack because opening the floor can reveal a different scope than the visible tile count. Compare local written proposals for the same investigation and intended assembly. Request the selected products’ curing and return-to-use instructions instead of assuming a universal waiting period. Keep photos, the assembly detail, and written labor and product-warranty terms for any callback. A costly whole-room proposal without evidence of wider defects deserves an independent tile-failure opinion.
Frequently asked questions
Can epoxy injection repair hollow tile without removing it?
It can be a limited repair option in some situations, but a hollow sound alone does not establish what needs repair. The TCNA’s hollow-tile guidance cautions that unresolved cause or movement can leave the repair vulnerable. Ask for a diagnosis and a product-approved method before approving injection.
Would replacing ceramic tiles with porcelain stop the cracks from returning?
No tile selection alone corrects an unsuitable substrate, missing movement provision, or poor support. Ask the installer to identify the failure mechanism and the assembly needed for the proposed replacement before comparing tile materials.
How do natural stone floor repairs differ from ceramic and porcelain repairs?
Most natural stone is weaker than ceramic or porcelain tile, according to the Ceramic Tile Education Foundation. It needs full mortar support, especially at every edge and corner. Have a stone-qualified tile installer check the substrate and the specified stone assembly before reusing a ceramic-tile repair detail.
What are my options if matching replacement tiles are no longer available?
Ask whether a local patch can be made acceptably with available stock or whether a larger visual field must be considered. Resolve the underlying cause and required access first; a perfect match is not useful if the new tile will crack again.
Sources
- Tile Council of North America — Cracked Tile: Common Causes and Misconceptions
- Tile Council of North America — Cracked Tile
- Tile Council of North America — Cracked/Loose Grout
- Tile Council of North America — Hollow/Loose Tile
- Tile Council of North America — Tenting
- Ceramic Tile Education Foundation — Never Assume You Have Sufficient Mortar Coverage. Check It.
- USG — Durock with EdgeGuard Installation Guide
- James Hardie — Frequently Asked Questions
- Schluter-Systems — DITRA Movement Joints FAQ
- CUSTOM Building Products — FractureFree Crack Prevention Membrane
- CUSTOM Building Products — RedGard Waterproofing and Crack Prevention Membrane
- Occupational Safety and Health Administration — Silica, Crystalline: Overview
- U.S. Environmental Protection Agency — Protect Your Family from Exposures to Asbestos