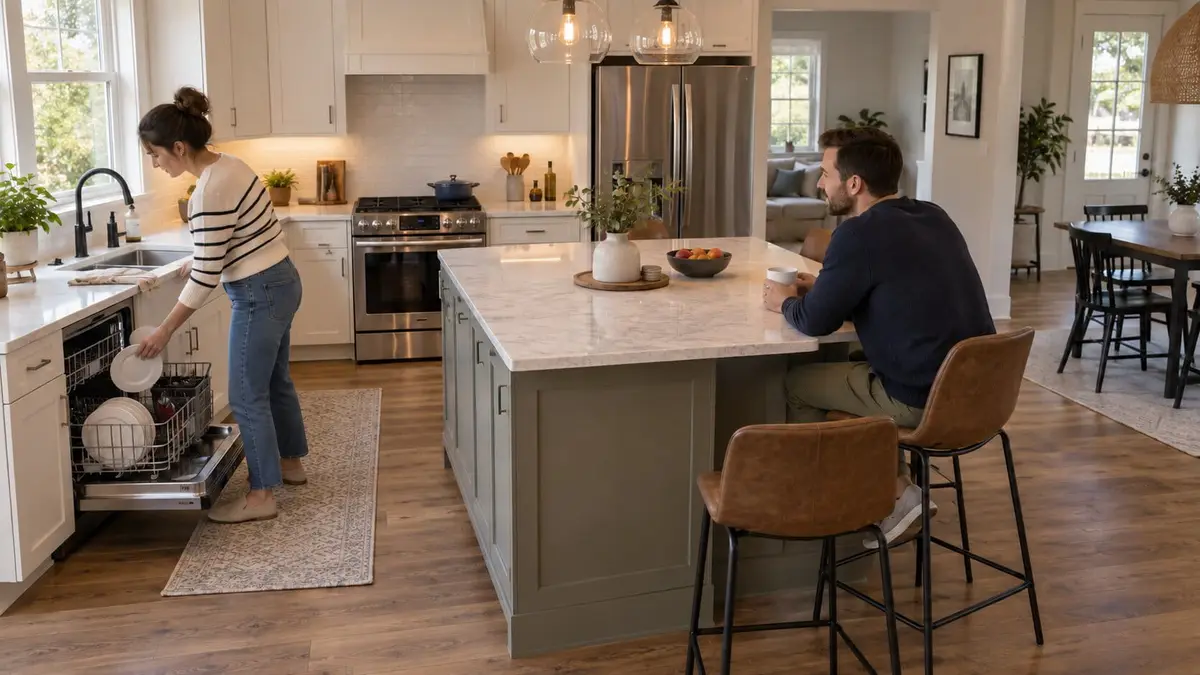
An island promises another surface for chopping, serving, or homework. The hard question is whether the kitchen becomes too crowded while someone opens the dishwasher or pulls out a stool.
Start with the actual edges of the proposed counter and the people who will use the room. A cabinet drawing alone leaves out overhangs, appliances, and the route to the refrigerator. Check those clearances before ordering. There is no useful universal island price: cabinetry, countertop support and utility work change the scope. Compare estimates for the same measured plan.
Will this kitchen island make the kitchen too crowded?
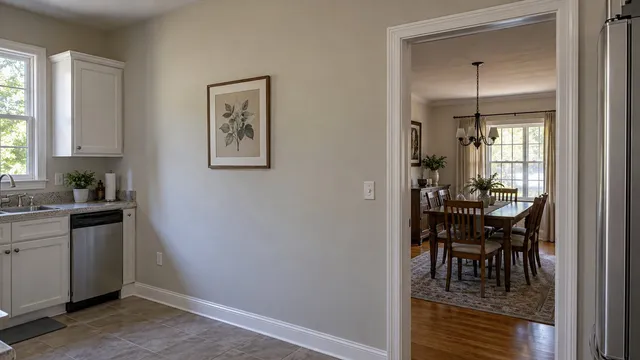
It will wherever a side has less room than its job needs. Rank the island’s jobs: food preparation, storage, meals, serving, or holding an appliance. If the room is tight, this ranking tells you which feature can shrink. A sink in the island adds plumbing and layout tradeoffs that need their own plan. Mark the working sides, a passage used to reach another room, and any side with stools. Trace the usual route from the entry to the refrigerator, pantry, and dining table. Include the person who unloads dishes while another cooks.
How much space do you need around a kitchen island?
The National Kitchen & Bath Association (NKBA) publishes these recommendations in its public kitchen planning guide. They are planning guidance, not a nationwide legal minimum or a promise that your layout will feel comfortable. The document cites older code editions; NKBA announced an updated fifth edition in 2026.
| Use | Published planning recommendation | Measure between |
|---|---|---|
| Walkway (passage with no work station) | At least 36 inches | Opposing finished edges |
| Work aisle for one cook | At least 42 inches | Counter frontage, tall cabinets, or appliances |
| Work aisle for multiple cooks | At least 48 inches | Counter frontage, tall cabinets, or appliances |
| Behind a seated diner, no passing | 32 inches | Counter edge to obstruction behind |
| Behind a seated diner, someone edges past | At least 36 inches | Counter edge to obstruction behind |
| Behind a seated diner, someone walks past | At least 44 inches | Counter edge to obstruction behind |
| Knee space at a 36-inch-high counter | At least 24 inches wide by 15 inches deep per diner | Usable space below counter |
The guide states the measuring points for work aisles and seating; for a walkway, measure between opposing finished edges.
A walkway and a work aisle answer different questions
“Can I walk through?” is different from “Can I stand, bend, open a drawer, and prepare food while someone passes?” Mark the side next to the range or sink as a work aisle if that is how you use it.
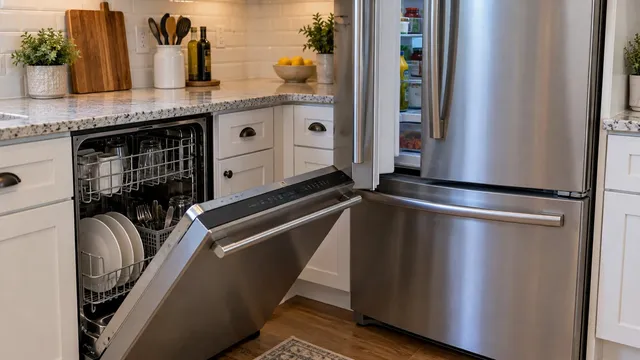
Look at intersections too. A 44-inch route behind stools may still be blocked by a dishwasher door at its end. Do not average a cramped side with a generous side. The narrowest place along the route matters. If routine tasks require everyone to move out of the way, revise the design even if the plan meets a published recommendation.
Measure the finished island, then calculate the space left around it
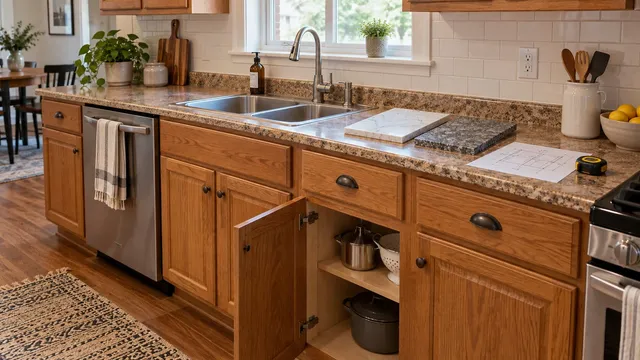
Sketch the room to scale, including existing finished perimeter counter edges and fixed obstacles. Draw the proposed island’s countertop, end panels, supports, and projecting appliance faces. Include waterfall ends, where countertop material continues down to the floor. Record handles separately as real snag and collision points.
Pick one straight line across the room and identify the two finished edges it runs between. Subtract the aisle you plan on one side and the aisle on the other. The remainder is the maximum island footprint along that line, measured at the countertop, not a promise about cabinet width.
For example, suppose an illustrative kitchen has 126 inches between the finished edges of two opposing perimeter counters. Allow 42 inches for one work aisle and 48 inches for the other. Subtracting 126 − 42 − 48 leaves 36 inches for the island top along that line. A designer must field-check, or measure on site, the actual room and requirements.
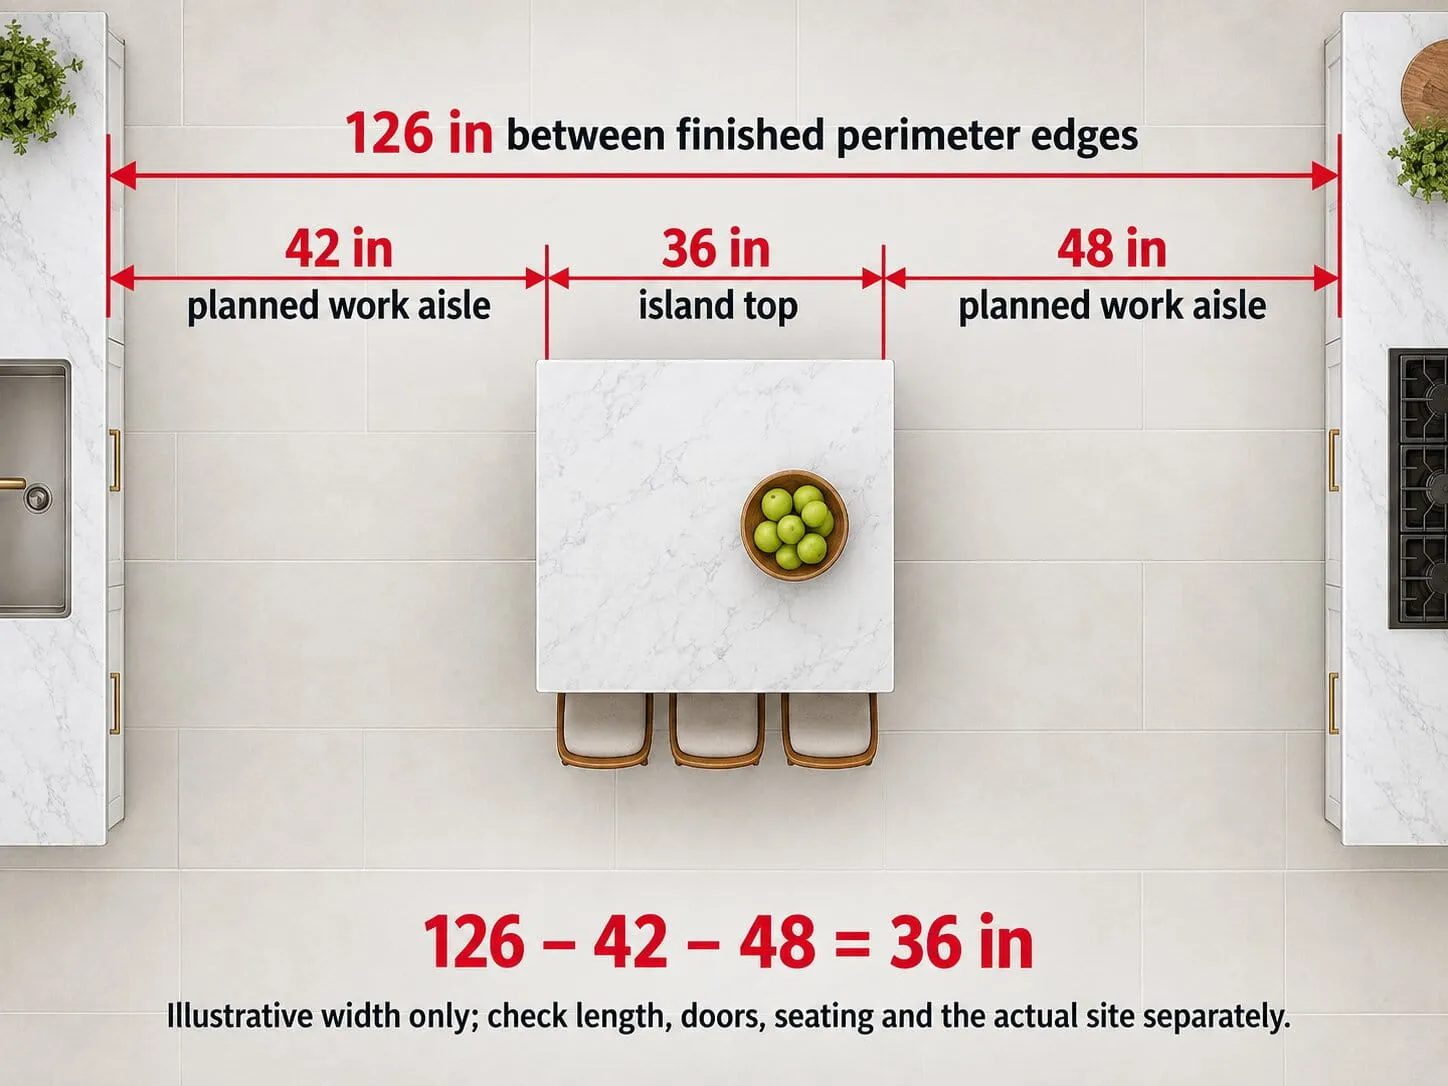
Repeat the calculation along the island’s length. Measure at several points if counters are not parallel. Check the ends by a refrigerator, column, doorway, or dining chair. GE’s appliance-measuring guide says to measure a space at its narrowest point. It includes kitchen islands among the obstacles to measure along an appliance’s delivery path.
An overhang counts toward the footprint even when floor is visible beneath it
Tape around the intended countertop edge, not just the cabinet boxes. Your shoulder, stool, or carried tray meets the edge above the floor. A deep seating overhang can take space from the passage even though feet fit underneath it.
Knee clearance and structural support are separate decisions. The table’s knee-space recommendation does not mean the slab can hang that far unsupported. Ask the fabricator what support the selected material, thickness, span, and arrangement need. Show any support panel or leg on the plan because it can change where someone sits.
Check the seating side with people sitting there
Draw the counter edge, then measure to the obstruction behind the seats using the seating rows above. Do not start behind a tucked stool: those recommendations begin at the counter edge. Compare three states: stools stored, a person seated, and a person getting on or off a stool.
Measure the actual stools you intend to buy, including backs and arms. A backless stool may store close to the island, but a seated person still occupies space. On the plan, mark each usable knee opening between supports and end panels. At 24 inches per diner, three stools need 72 inches of clear knee opening. Supports and corner seats can reduce usable seating space.
If a dining table sits nearby, pull out its nearest chair while an island seat is occupied. Can someone still pass? If not, try fewer island seats, seating at one end, a prep-only island, or meals at the existing table. Preserve the function you ranked highest, not an arbitrary seat count.
Open the appliances and storage before calling the layout a fit
Get the exact model’s current dimensional and installation drawings. Mark the dishwasher door and pulled-out rack, oven door, refrigerator and freezer doors, trash pullout, and island drawers. Then show where a person stands to use each one. Check combinations that happen together, such as the dishwasher open while someone reaches the fridge.
Read each drawing’s reference point. One Whirlpool planning guide for a family of 24-inch dishwashers lists 50 3/16 inches as the minimum depth with the door fully open. That is a total measured from the back of the dishwasher, not an aisle width. A separate Whirlpool installation manual for the UDT555 requires at least 25 5/8 inches in front for the door to open fully. Neither figure includes room for the person loading it or for anyone passing. Use the manual for the model you select, including its installation spacing; do not combine figures from unrelated models.
For a refrigerator, check the needed opening angle, nearby wall or hinge conditions, access to interior drawers, and future removal for service. “Counter-depth” means a shallower refrigerator intended to align more closely with counters. That label or “opens 90 degrees” does not answer all four questions. A qualified appliance installer can confirm the drawing and the delivery route. Do not move a connected appliance to experiment or press down on an open dishwasher door. Our appliance-door collision guide covers remedies when the arrangement itself causes a conflict.
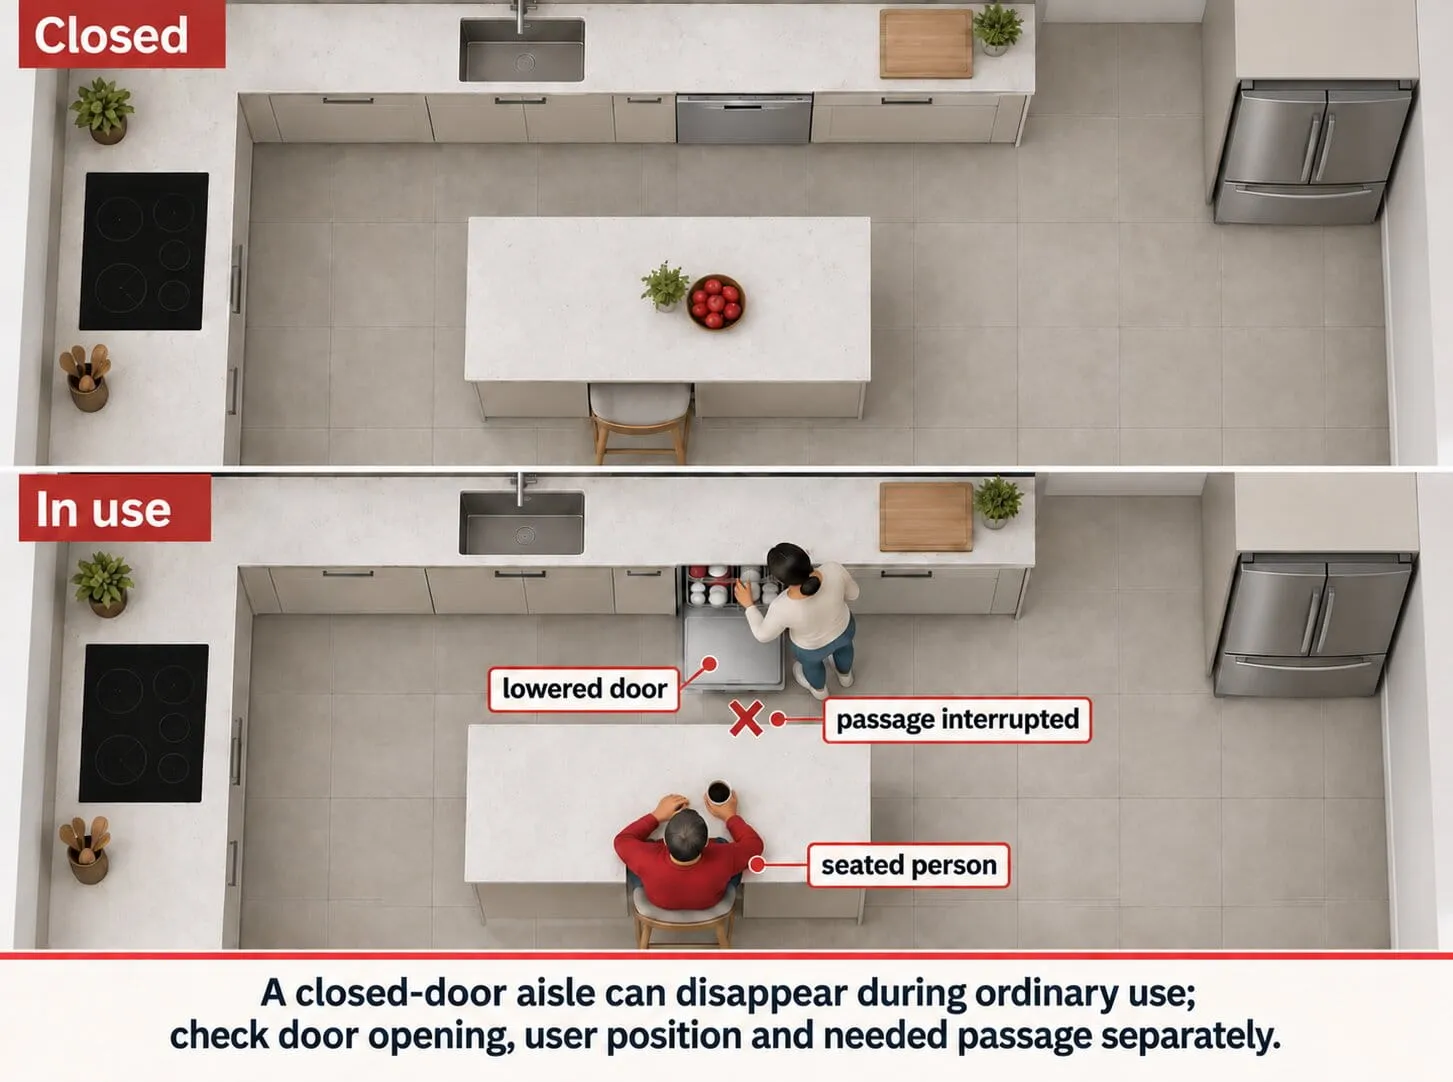
Record three different results
Write these as separate notes on the plan: the door opens fully; a person can use the appliance; another person can pass where passage is needed. A “yes” to the first does not answer the next two. Mark missing model details as unresolved instead of coloring the whole area green.
Rehearse the busy moment, including mobility needs
Check that the tape maker permits use on your floor finish, then use removable tape to mark the entire counter footprint. A stable, lightweight mockup can help show the edge, but keep exits clear and avoid stacks anyone might climb or trip over. Keep appliances off and cool. Open only safely installed doors normally.
Walk through dinner prep while a second person unloads dishes. Have someone fetch a drink while a stool is occupied. Tape the proposed island drawer’s open outline and include that space in a pantry trip. Note repeated sideways turns, blocked cabinets, or a request for another person to move. Stop any rehearsal that creates a trip or balance hazard. Change one dimension or feature and repeat the failed movement.
Include household members who use mobility aids or have limited reach and balance in the design conversation. Straight-line space does not establish turning, approach, or reachable work space.
The U.S. Access Board says the Americans with Disabilities Act (ADA) does not cover individually owned or leased private housing that is not used as a public accommodation. This includes single-family homes. State or local access codes may still apply, and the Fair Housing Act covers many kinds of multi-family housing.
Where ADA kitchen clearances apply, a pass-through kitchen with two entries needs at least 40 inches between opposing counters, cabinets, appliances, or walls. A U-shaped one needs at least 60 inches. Spaces without a cooktop or conventional range are exempt from these two clearance provisions. An open dishwasher door must leave the required clear floor space for the dishwasher and sink unobstructed.
For covered properties or complex household mobility needs, have a designer experienced with accessible residential layouts check the whole route and work area. A tape rehearsal cannot certify compliance.
Change the feature causing the pinch point
Name the failed task before changing the plan. A tighter work aisle might call for a shallower or shorter island, but verify that the remaining storage and worktop still serve your goal. A tight end may improve when the island shifts, provided the other end and both working sides are checked again.
If occupied seating blocks passage, remove or relocate seats first. A peninsula, attached to the perimeter at one end, is another layout to test, including the path around its free end. A movable cart must be stable for the work you will do and have a place to park. Do not run an appliance cord across an aisle to reach it. Sometimes a useful perimeter counter and storage plan beats a cramped permanent island.
| Observed pinch point | Feature to reconsider | Recheck afterward |
|---|---|---|
| Prep side stalls when another person cooks | Island depth or position | Both work aisles and usable top |
| Route behind stools closes at dinner | Number or location of seats | Occupied seats and dining chairs |
| Refrigerator door hits an island end | Island length or appliance location | Full model operation and delivery path |
| Drawer opens into a necessary route | Drawer placement or island plan | User position and simultaneous tasks |
Changing walls or utilities is a new project scope, not a default way to force an island into place. If opening a wall is under consideration, have a structural engineer assess it before anyone draws the larger room. Our guide to what to evaluate before removing a kitchen wall covers that assessment and the services inside the wall.
Get the final clearances and scope in writing before ordering
Ask the kitchen designer or remodeler for a dimensioned plan with finished counter edges, all four surrounding spaces, fixed projections, stool positions, door swings, and exact appliance model numbers. Have that designer or remodeler field-check it before cabinets or stone are ordered. Ask which dimensions are planning recommendations, which come from product manuals, and which are requirements adopted for your property.
Keep a written list of unresolved items: appliance selections, dimensions to field-check, countertop support to design, and rules to confirm. Get a second layout opinion if these red flags remain:
- A rendering without dimensions
- “Code says” with no citation
- An appliance substituted without a new clearance check
- Comfort promised from one number
- A known conflict nobody will put in writing
The plan should identify who checks countertop support, island anchoring, utility routes, electrical provision, and any floor or wall changes. Your local building department decides which permits apply, and licensed trades do the work where a license is required. In Portland, Oregon, for example, installing cabinets in a one- or two-family home needs no building permit. Adding an outlet needs an electrical permit; adding piping needs a plumbing permit. The work must still meet code. Other places draw those lines differently.
Compare bids for the same footprint and function. Have each identify site measurement, cabinetry, top and supports, delivery, trade work, finish repair, approvals, and exclusions. Our guide to comparing kitchen remodeling quotes helps align differing scopes. Ask who pays for remeasurement or redesign if a model or finish changes after approval. Coordinate the cabinet, floor, and appliance installation order once the plan is settled. Release the order when the dimensions, daily tasks, appliance operation, and unresolved rules have all been checked; otherwise revise the footprint first.
Frequently asked questions
Can an island be too far from surrounding counters even when there is plenty of walking room?
Yes. The goal is a usable work sequence, not the largest possible gap. Walk your ordinary prep and cleanup route on the scale plan and in a safe floor mockup.
Should a future refrigerator replacement affect island dimensions now?
Yes, if that replacement is likely during the life of the new island. Reserve space for the selected future model’s doors, drawers, ventilation, installation, and removal path. A nominal width category alone is too little information.
Can changing the countertop edge or cabinet handles recover meaningful space?
It can change a particular pinch point. Draw the proposed finished edge and handle projection, then remeasure that location and test the task.
Does a rounded island end help a tight corner, or just make it look less crowded?
It may ease movement around that specific corner if the actual finished edge moves out of the path. Check the narrowest route and the countertop support with the new shape.
Is a movable island practical if it must be parked elsewhere for appliance service?
Possibly, if the alternate position stays clear and the cart is stable for its intended use. Show both positions and the route between them on the plan.
Sources
- NKBA — Kitchen Planning Guidelines with Access Standards
- NKBA — Newly Updated Kitchen & Bath Planning Guidelines
- GE Appliances — Appliance: Prepping Pathways and Measuring Your Space
- Whirlpool — 24-inch Dishwasher Detailed Planning Dimensions Guide (W11438541E)
- Whirlpool — Undercounter Dishwasher Installation Instructions (W10703184)
- U.S. Access Board — Using the ADA Standards
- U.S. Access Board — ADA Accessibility Standards
- City of Portland — Do you need a permit for your home project?